Just when Cinderella thought she was ready for the ball, her stepsisters Drizella and Anastasia dashed her dreams by snatching back the beads and sash they had earlier discarded. Luckily, her Fairy Godmother came to the rescue and, with a wave of her wand, produced a ball gown and matching tiara even more beautiful than the first. You can create a dazzling crown that resembles Cinderella's using little more than an ordinary headband and a piece of sequin trim.
Craft Disney
Cinderella’s Crown
July 28, 2014
July 28, 2014
Time: 20 minutes
What You'll Need
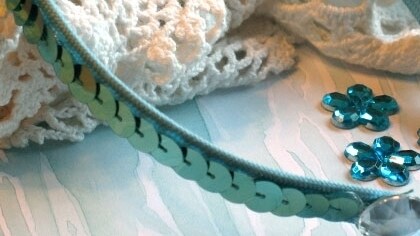
- Sequin trim
- A headband
- A hot glue gun
- 2 acrylic gems
How To Make It
- Cut a piece of sequin trim that is long enough to cover the headband you're using, leaving a little room at each end to attach a gem. Starting at one end and working your way along a few inches at a time, apply a thin line of glue directly onto the headband and press the trim down onto it.
- When you've finished attaching the sequin trim, glue the acrylic gems in place at the ends of the headband.
Note: Cutting and gluing should be done by an adult.