• Log In
  • My Account
    • Account Settings
    • Log Out
  • Disney.com
  • Disney+
    • Home
    • On Disney+
    • The Disney Bundle
  • Parks & Travel
    • Home
    • Walt Disney World
    • Walt Disney World
    • Disneyland
    • Disney Cruise Line
    • Aulani
    • All Parks & Travel
  • Movies
    • Home
    • All Movies
    • Movies Anywhere
    • 20th Century Studios
  • Shop
    • Sale
    • Clothes
    • Accessories
    • Toys
    • Shop All
  • Disney News
  • D23
  • Live Shows
    • Home
    • Disney on Broadway
    • Disney on Ice
    • Disney Live!
  • Music
  • Disney Disney.com
  • Disney+
    • On Disney+
    • The Disney Bundle
  • Parks & Travel
    • Walt Disney World Resort
    • Disneyland Resort
    • Disney Cruise Line
    • Aulani - A Disney Resort and Spa
    • Adventures by Disney
    • Disney Vacation Club
  • Movies
    • All Movies
    • Movies Anywhere
    • 20th Century Studios
  • Shop
    • Sale
    • Clothes
    • Accessories
    • Toys
    • Shop All
  • More
    • Disney News
    • D23: The Official Disney Fan Club
    • Live Shows
    • Music
  • Log In
  • My Account
    • Account Settings
    • Log Out
Disney
Cancel

STREAM MICKEY MOUSE AND FRIENDS NOW ON DISNEY+

Craft Disney

DIY Your Own Mickey Mouse Hot Glue Pushpins

March 28, 2020
March 28, 2020
Elise Apffel
Disney Family Contributor

Colorful Mickey Mouse heads made of three dots of hot glue, a large one for the head and two smaller ones for the ears.
©DISNEY. PHOTO BY ELISE APFFEL FOR DISNEY FAMILY

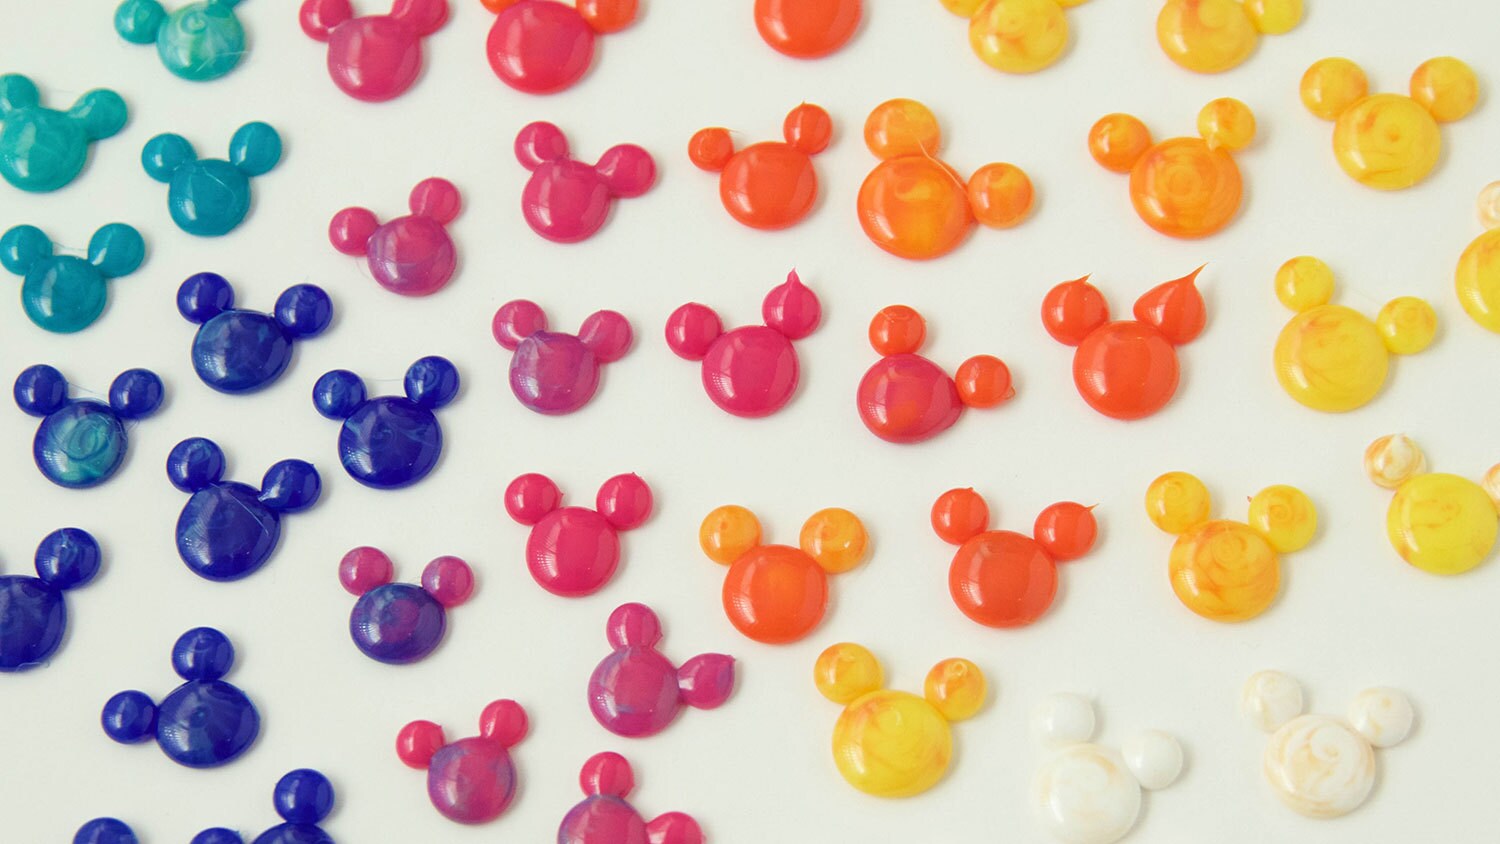
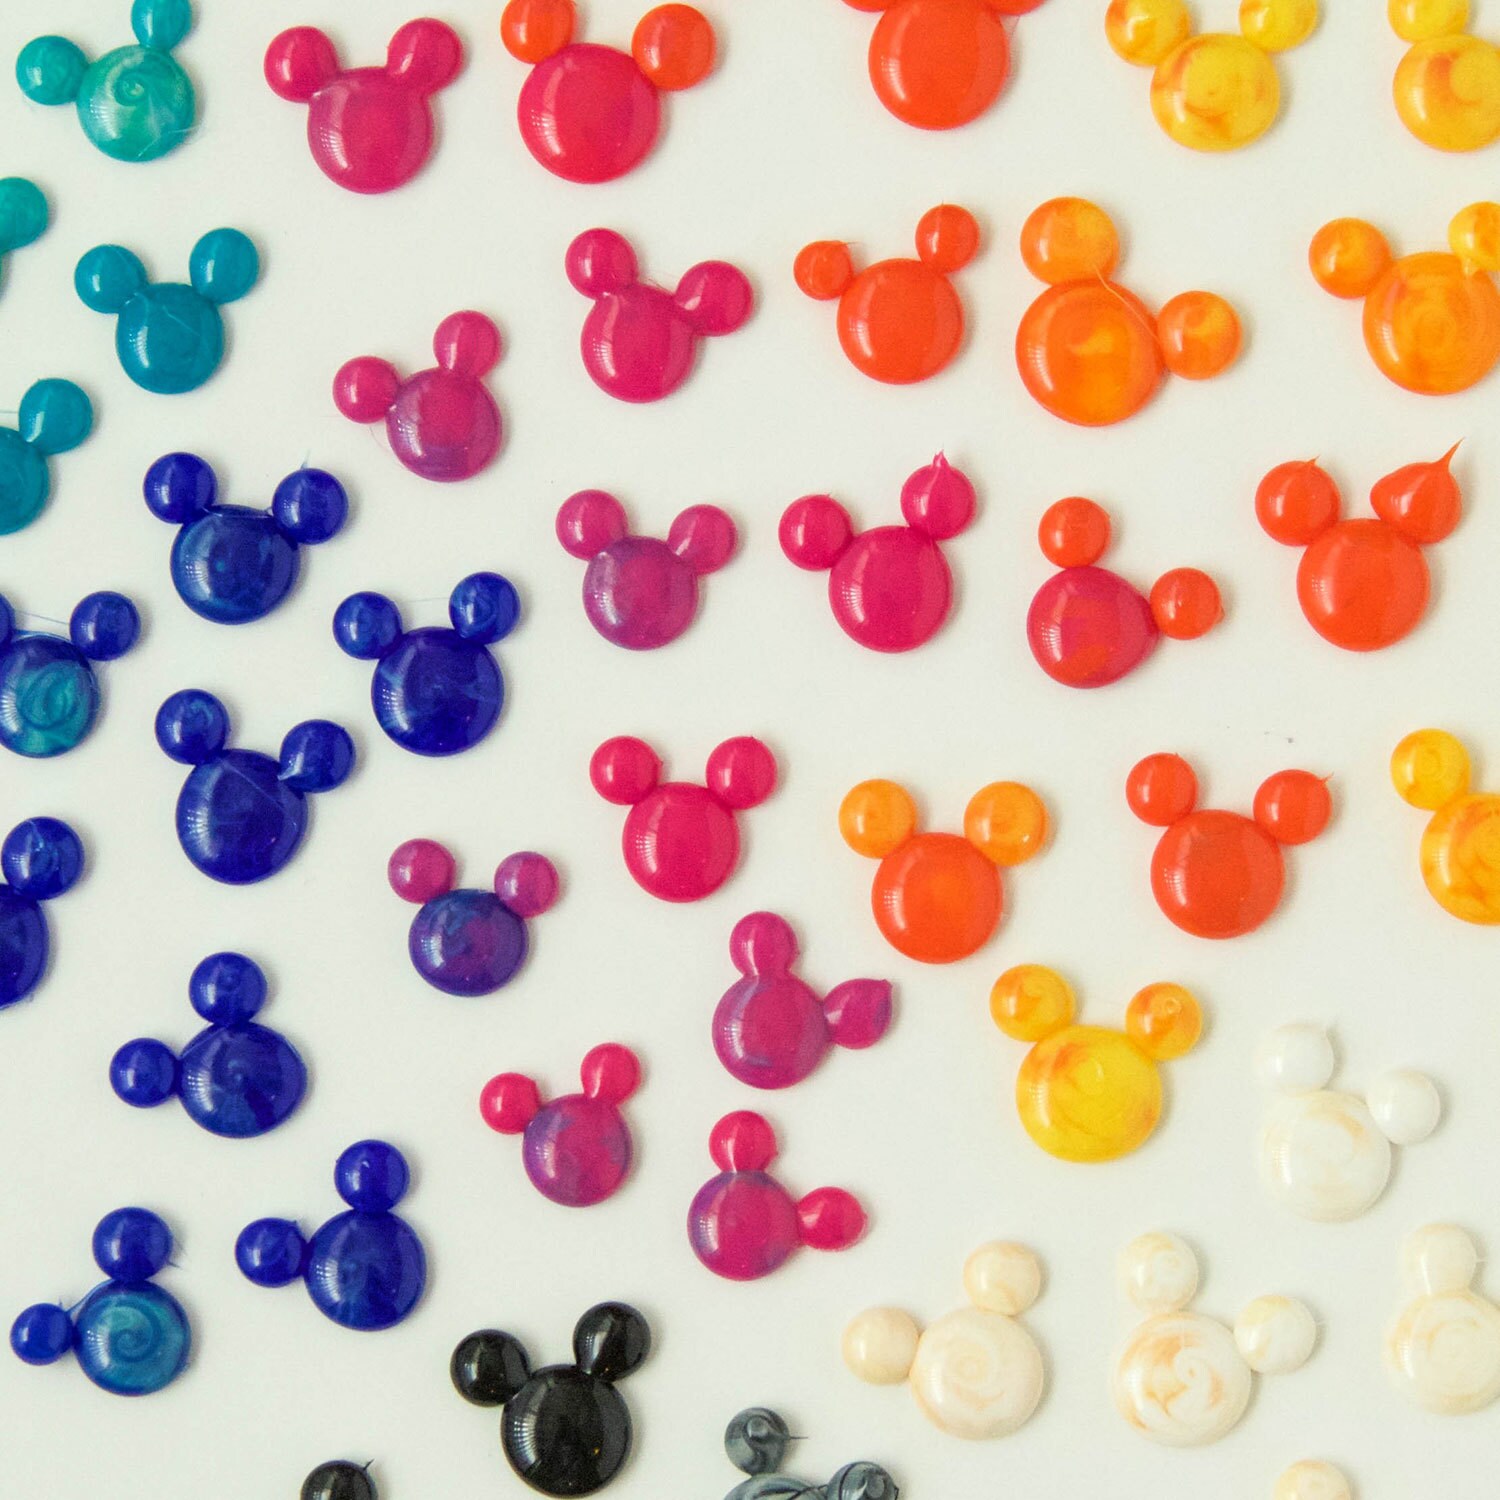
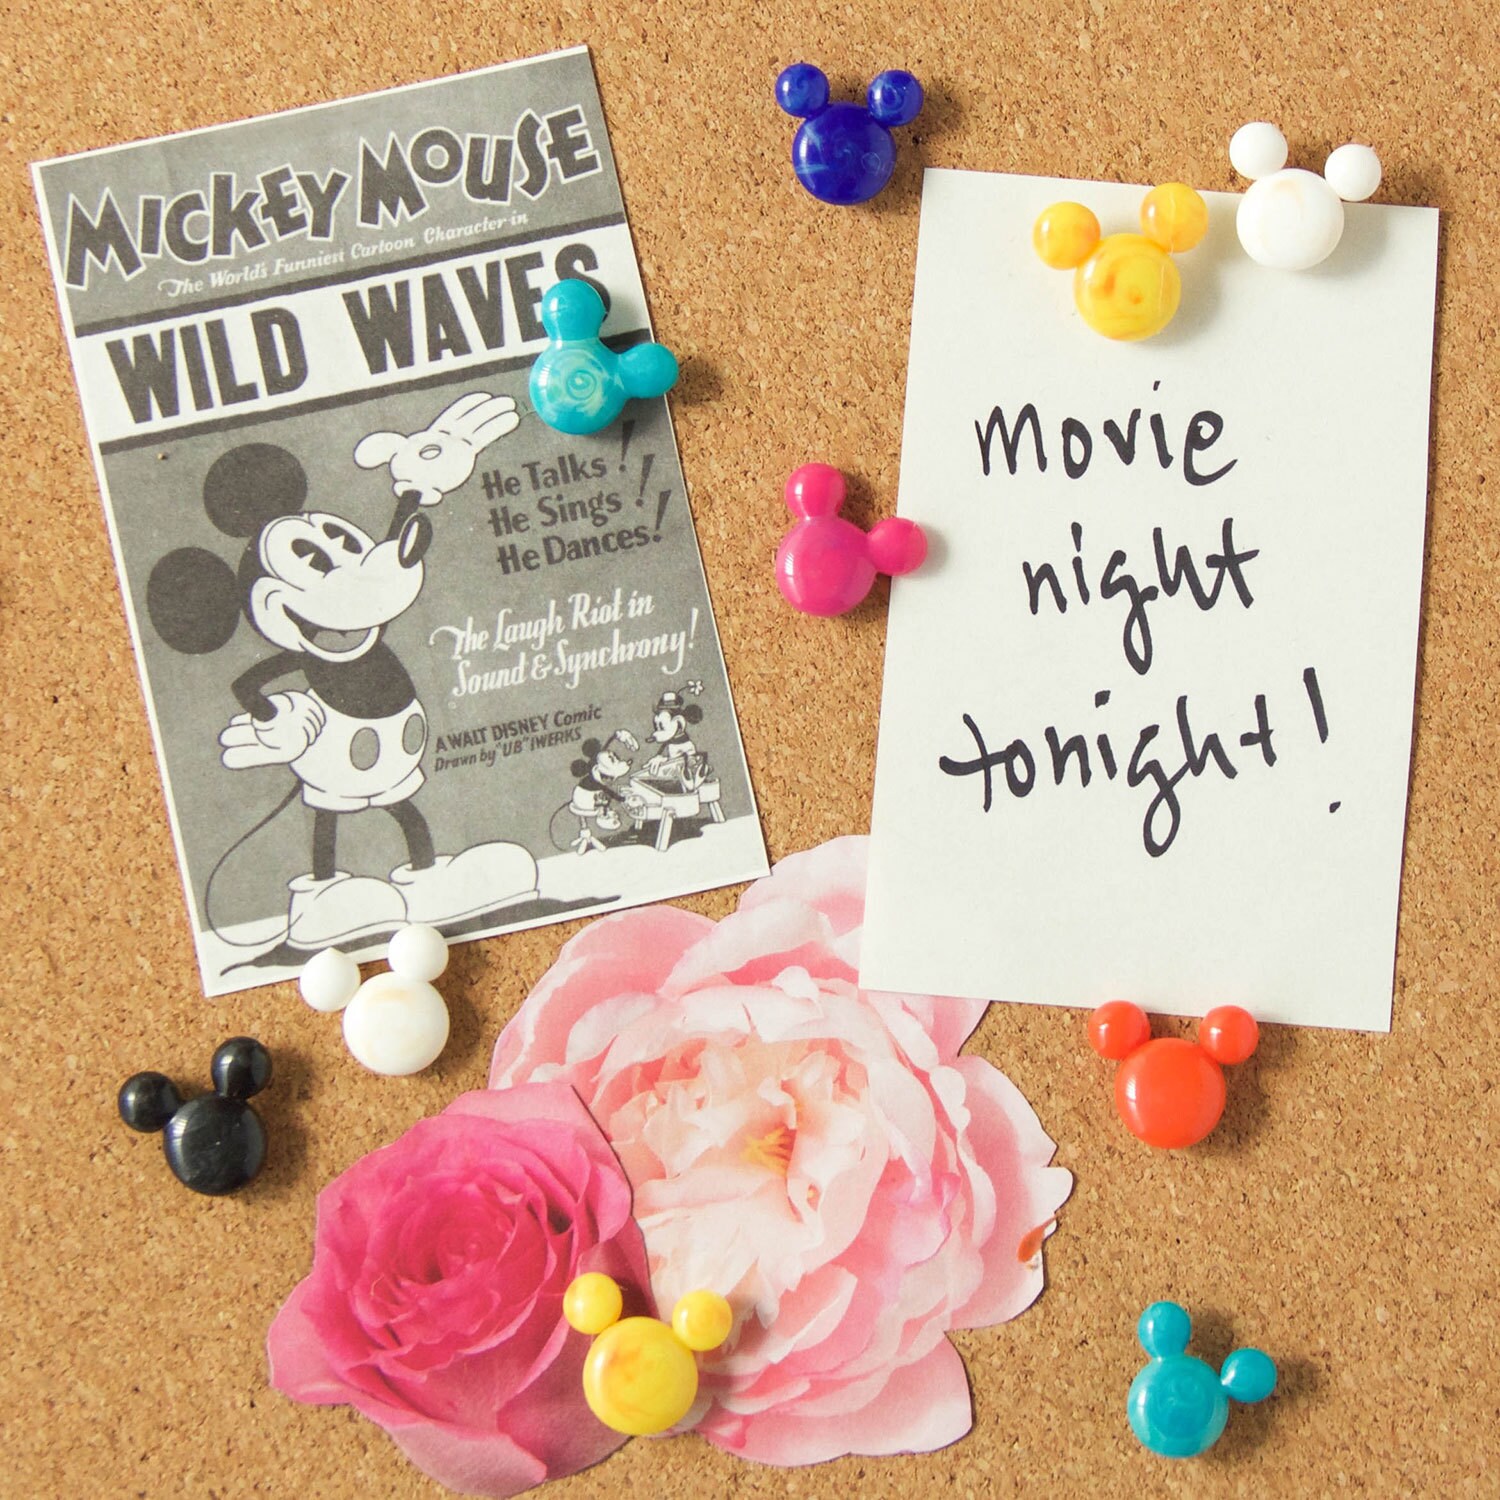
Looking for a way to add a little Mickey magic to your family bulletin board? These Mickey Mouse hot glue pushpins are easy to make, and they'll add a pop of color to every message. Keep reading to learn how to make your own!

What You'll Need

  • Colored hot glue sticks
  • Hot glue gun
  • Silicone surface
  • Pushpins
  • Scissors

How To Make It

  1. Start by placing the first hot glue stick into your hot glue gun. Something to remember is that the colors will mix together as you transition from one color to the next, so think about working through the rainbow (red, orange, yellow, green, blue, purple, pink, etc.) so that the marbled colors work together.
  2. Using the hot glue gun, press out a circle slightly larger than the head of the pushpins onto a silicone surface.
  3. Let this first circle dry for about 10-15 seconds, and then add the Mickey ears. Note: if you add the ears too early, they will melt into the head and lose their shape.
  4. Once dry, carefully remove the Mickey shapes from the silicone. Place them onto a cool surface and let them set for about 10 minutes.
  5. Repeat with as many colors as you want, and play around with the marbling effect! Don't worry too much about the extra strings of glue, those are easy to cut off with scissors once they have set.
  6. Hot glue the Mickey shapes to the pushpins.
  7. Enjoy!

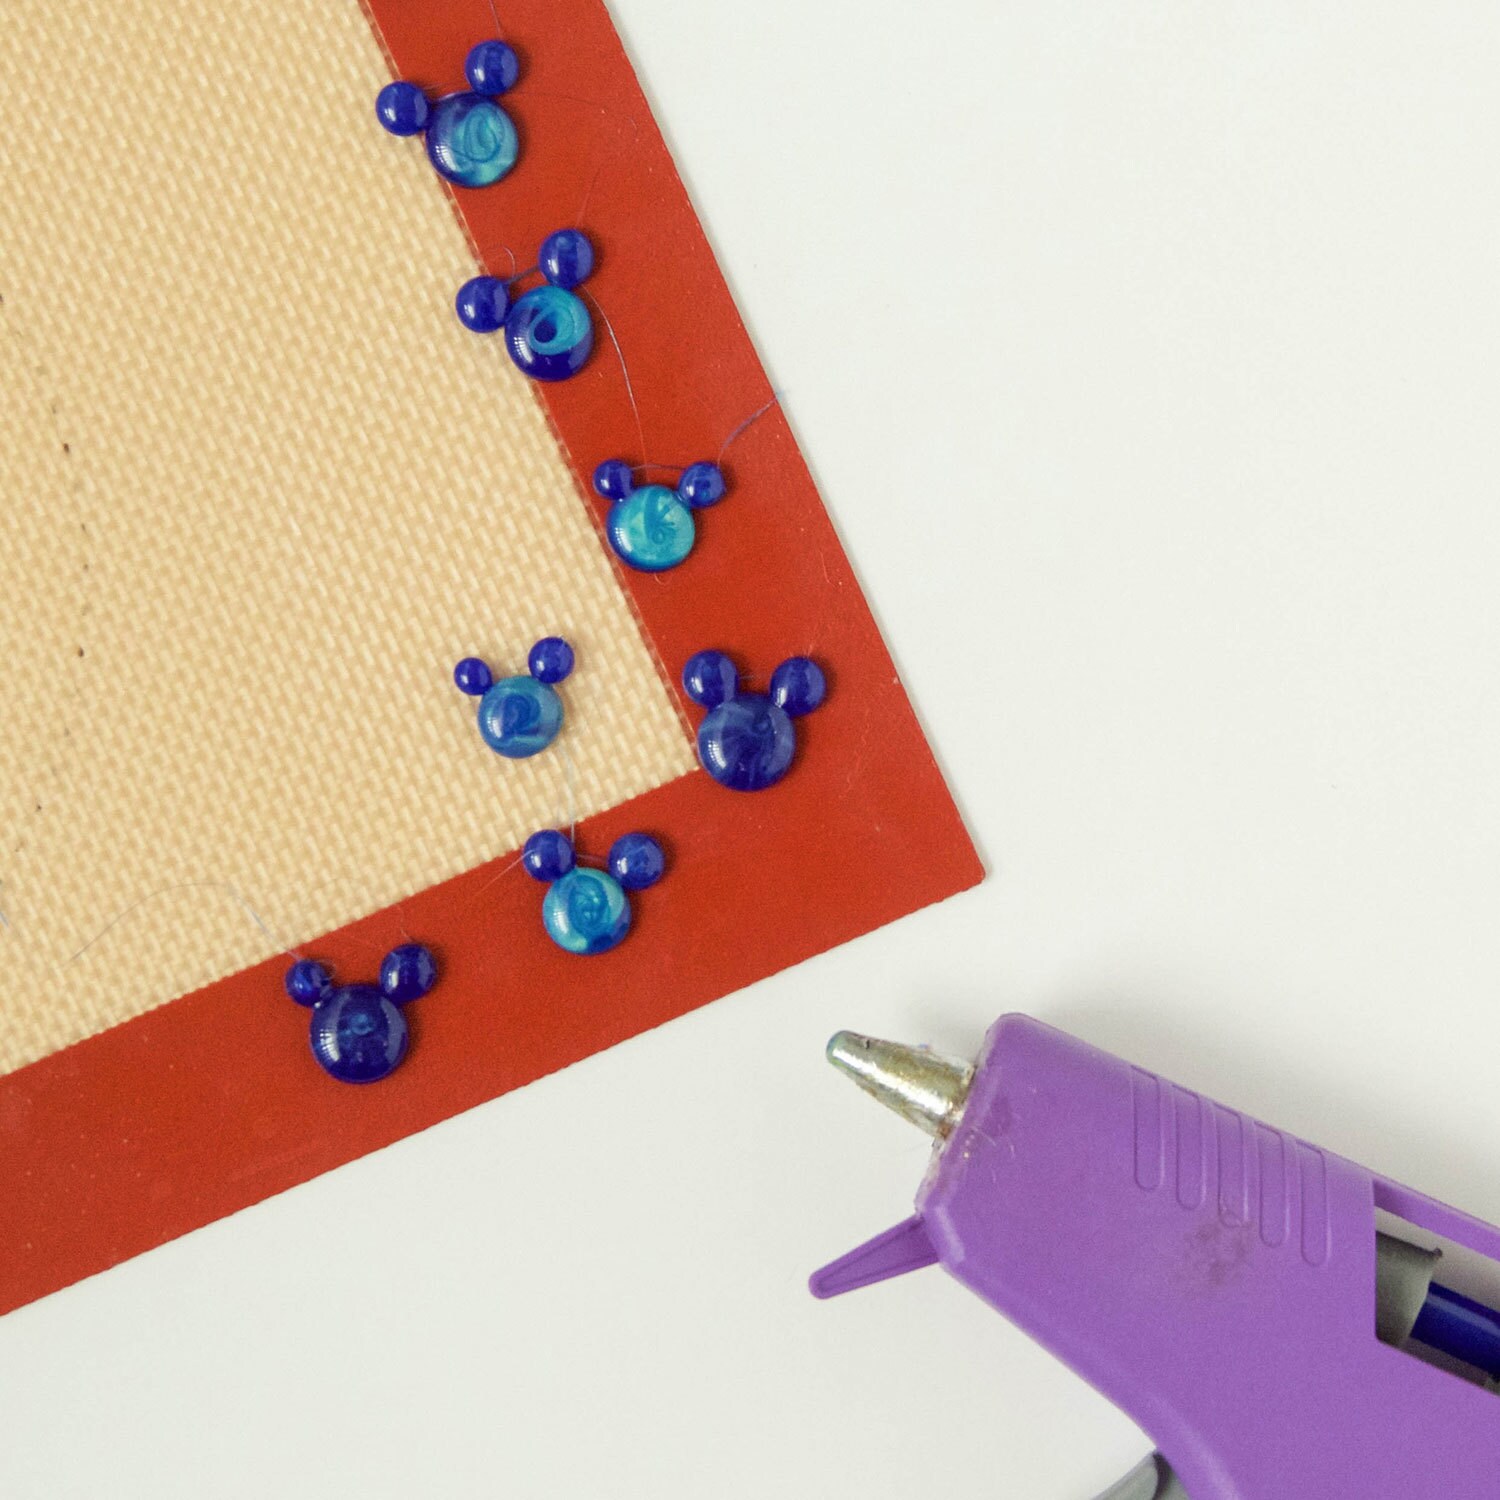
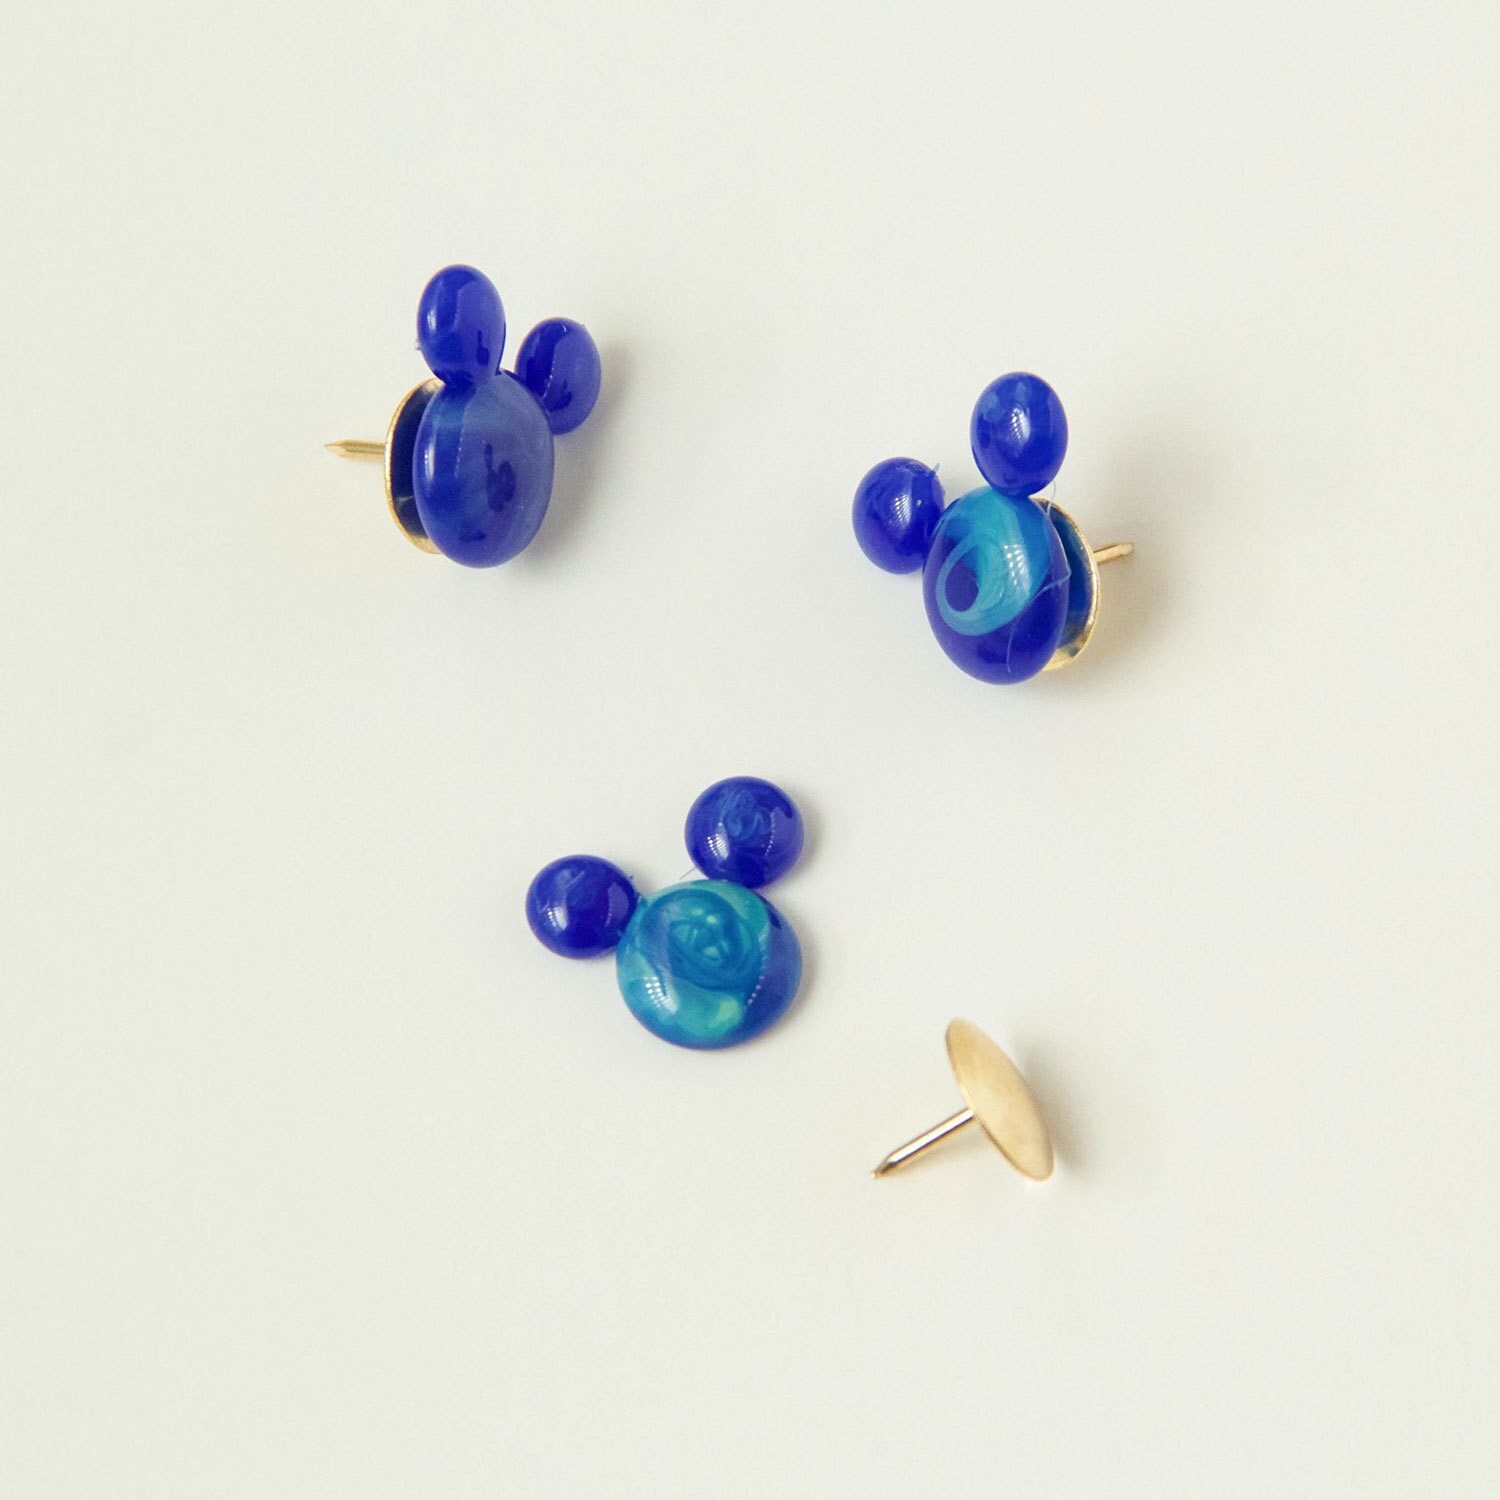
Note: All hot gluing and cutting should be done by an adult.

  • About Disney
  • Disney Help
  • Careers
  • Contact Us
  • Advertise With Us
  • Disney® Premier Visa® Card
  • Terms of Use
  • Additional Content Information
  • Privacy Policy
  • Your US State Privacy Rights
  • Children's Online Privacy Policy
  • Do Not Sell Or Share My Personal Information
  • Interest-Based Ads
© 2025 Disney and its related entities