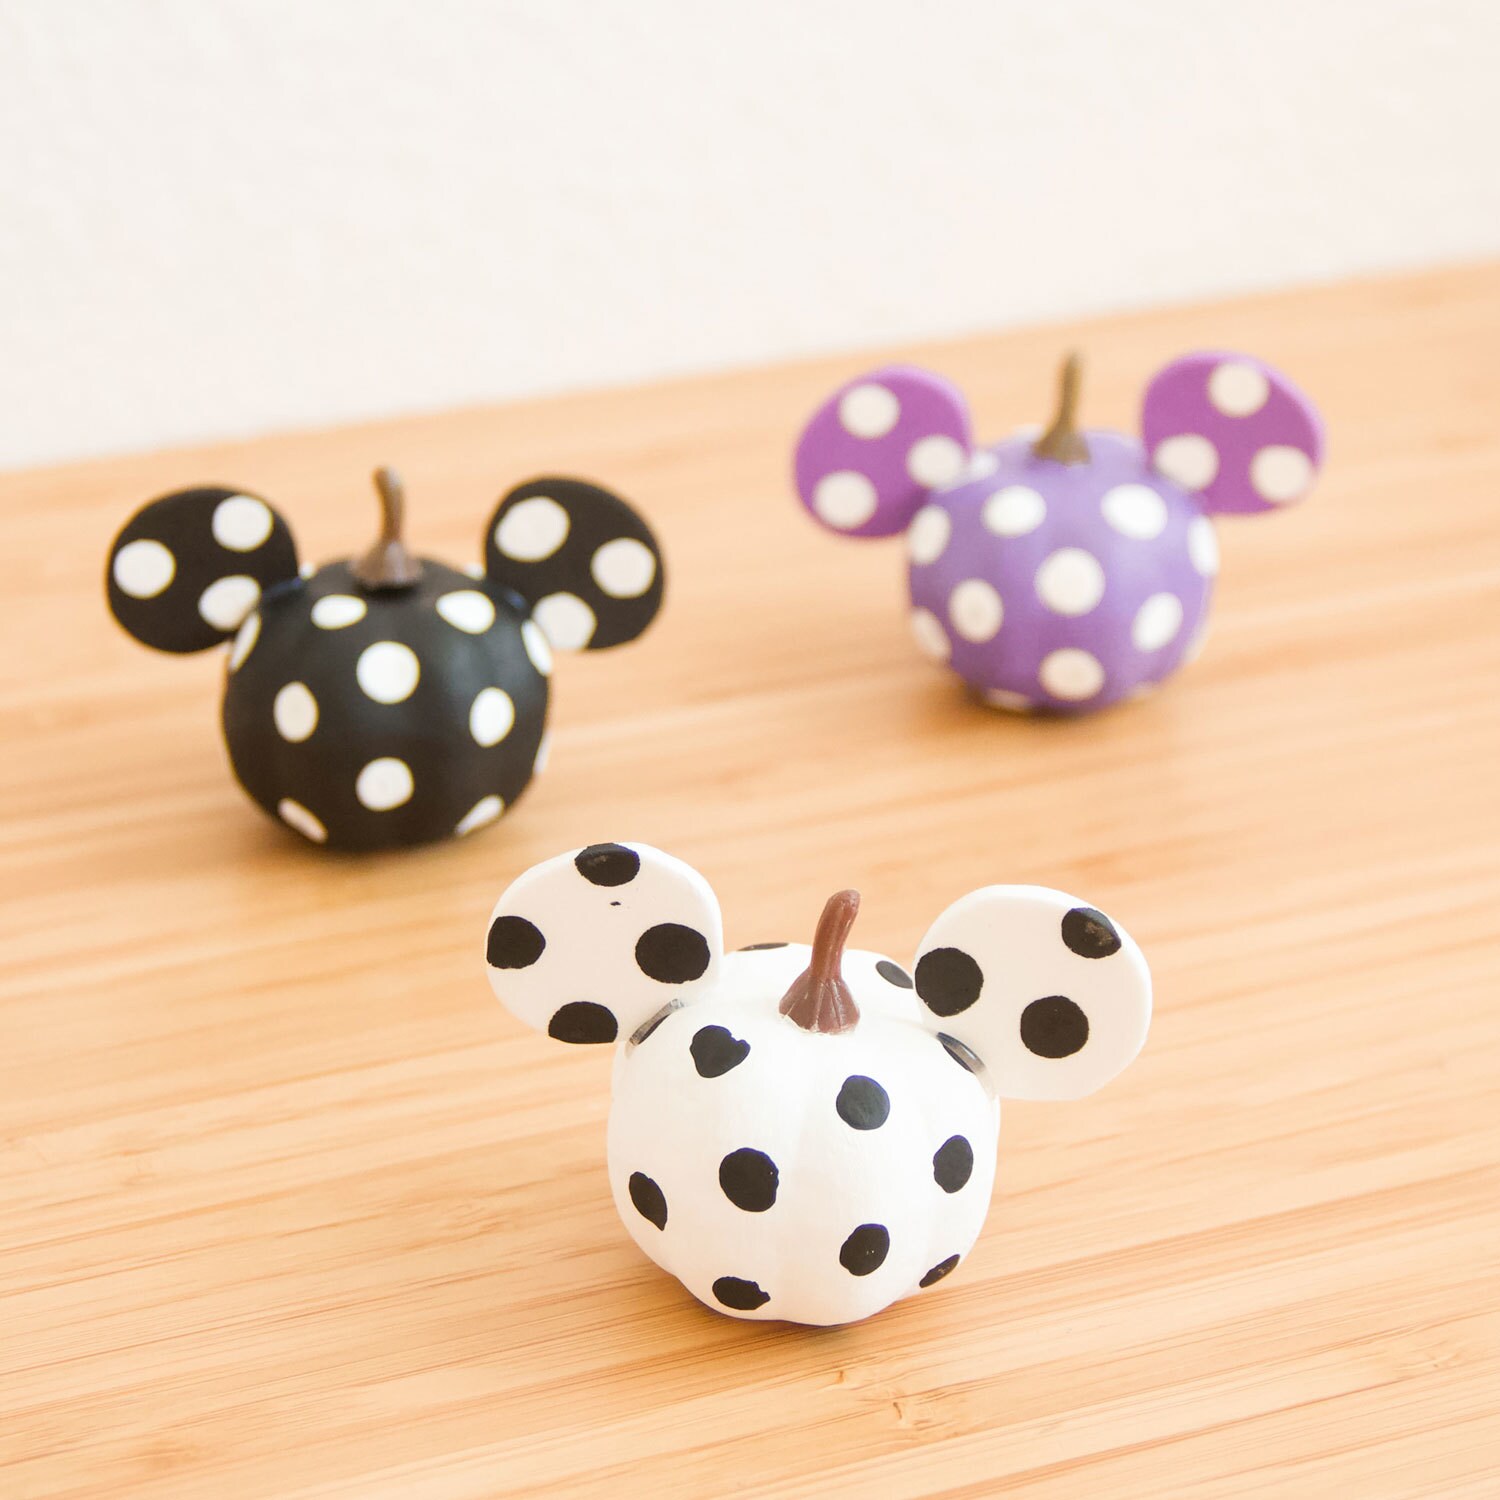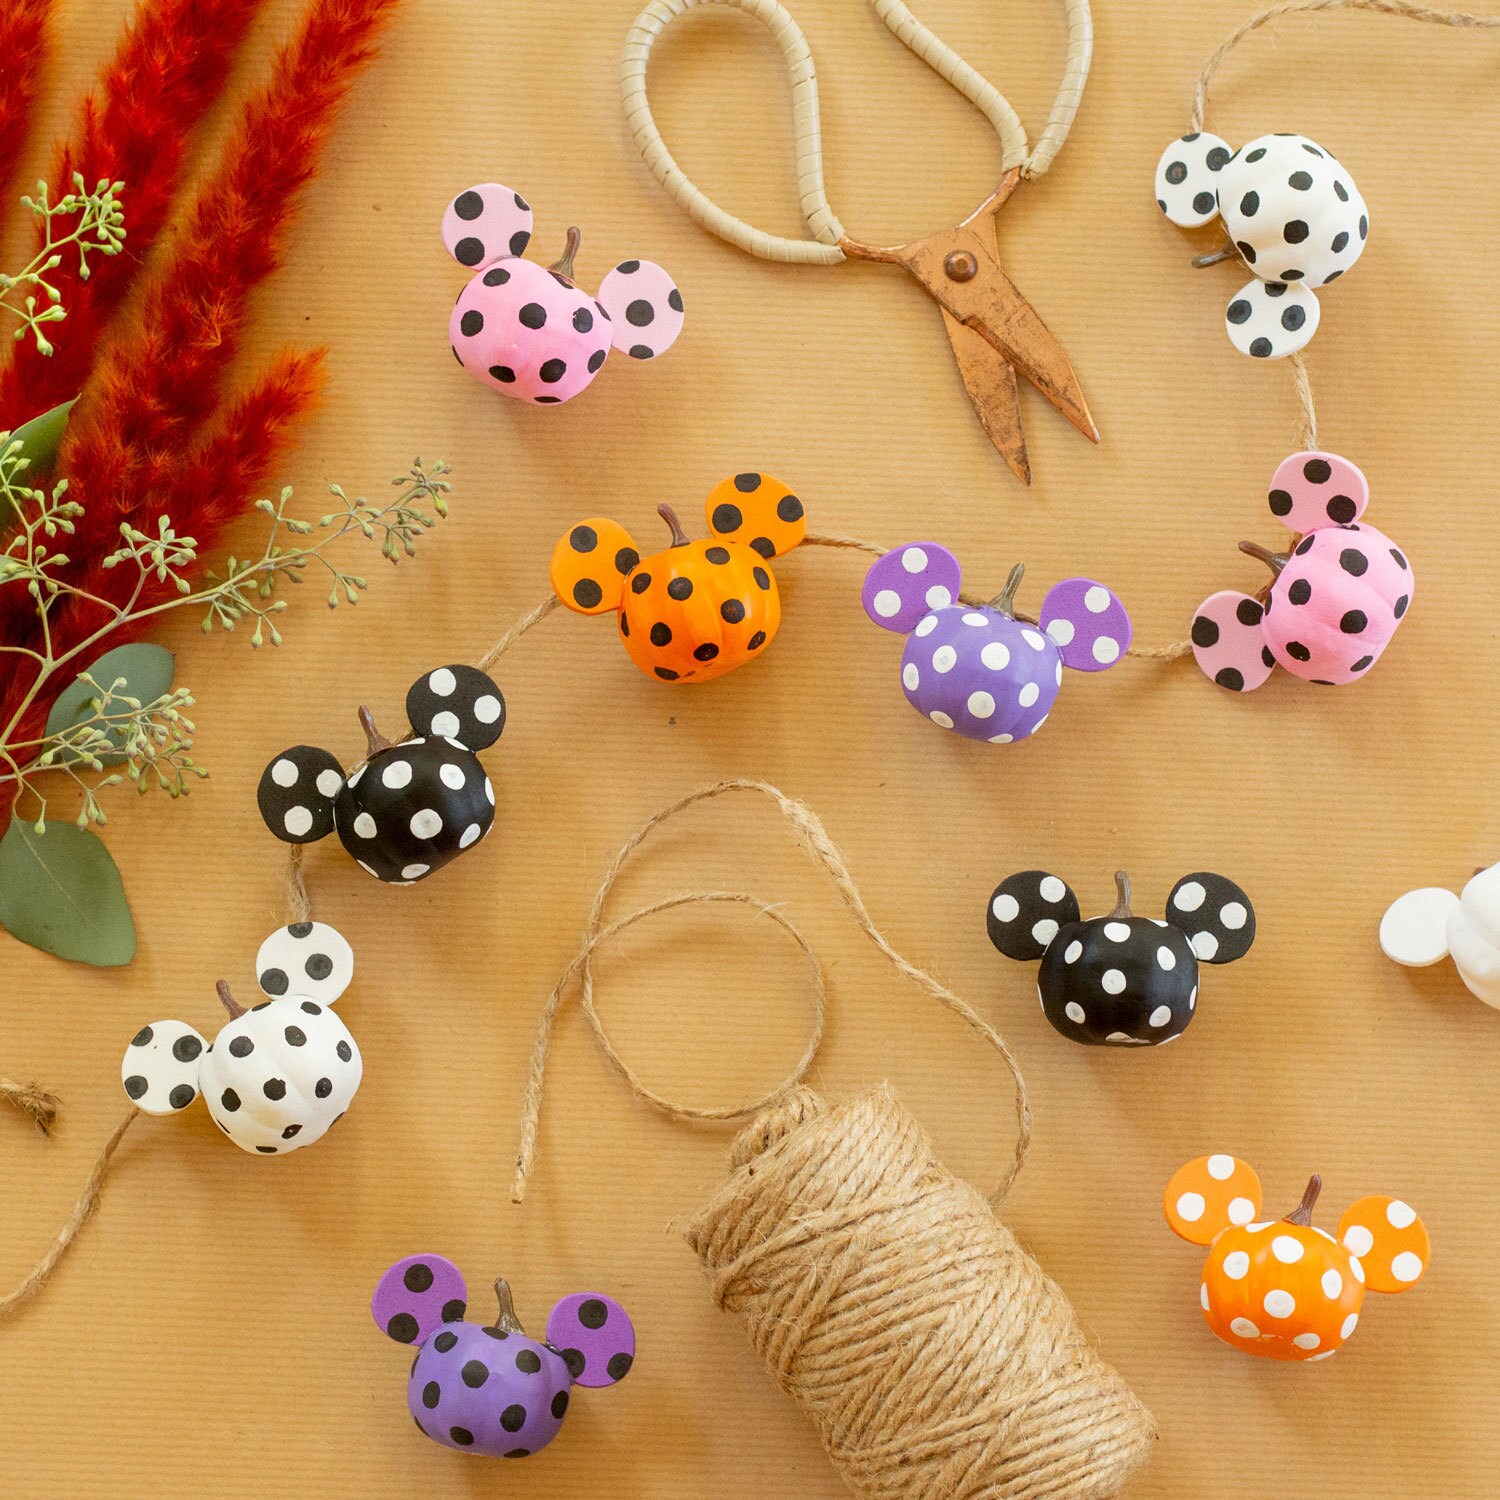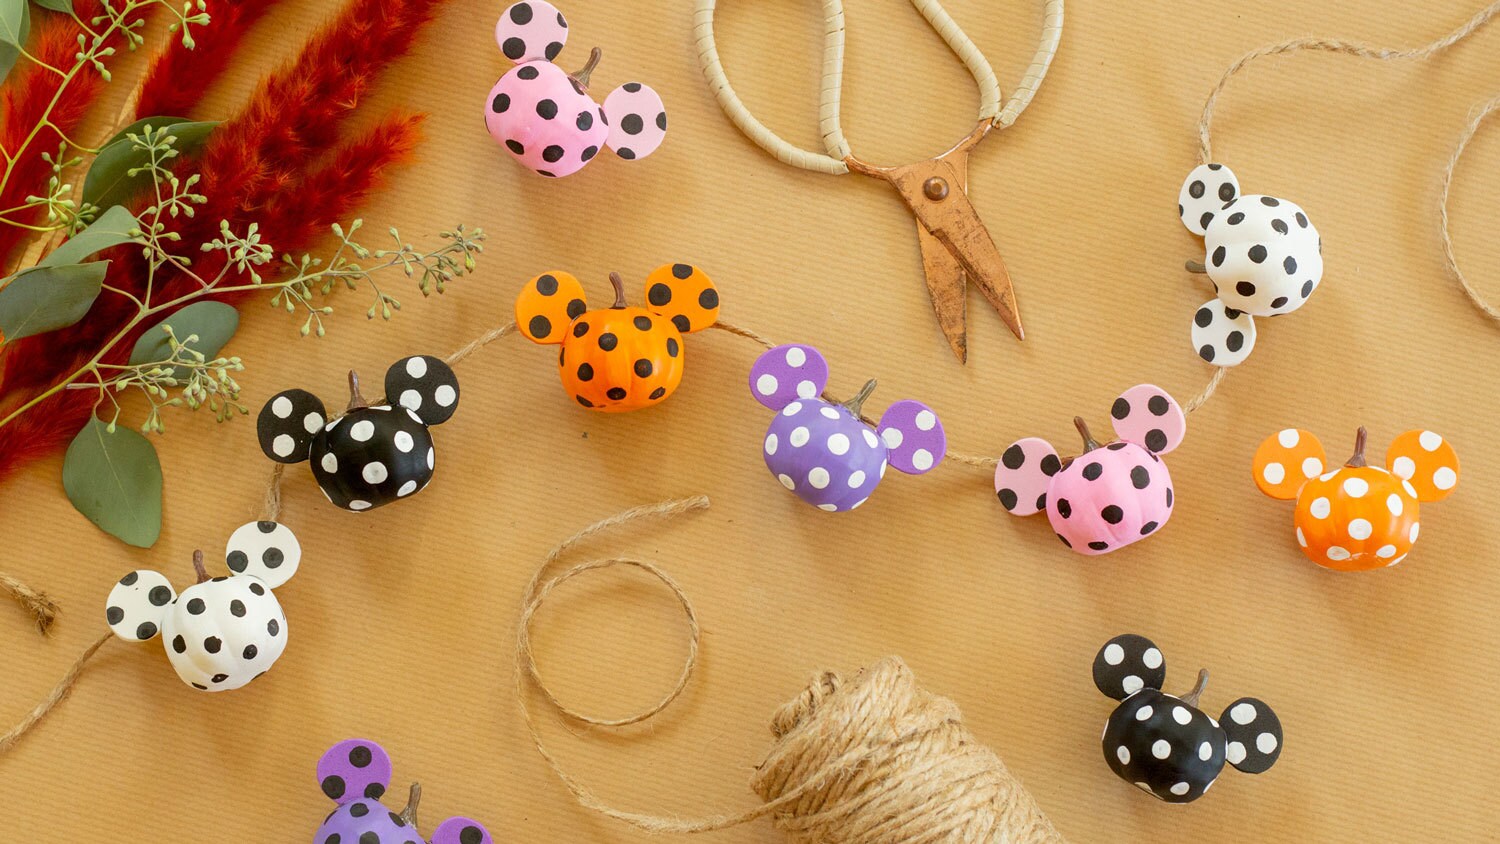
Fall is here, making it the perfect time to channel your creative side with this fun and festive Mickey pumpkin garland! It’s easy to make, so round up the entire family and turn movie night into a crafting night. It’s the perfect accessory to decorate your home for fall!
Craft Disney
Create Your Very Own DIY Mickey Pumpkin Garland
September 30, 2020
September 30, 2020
What You'll Need
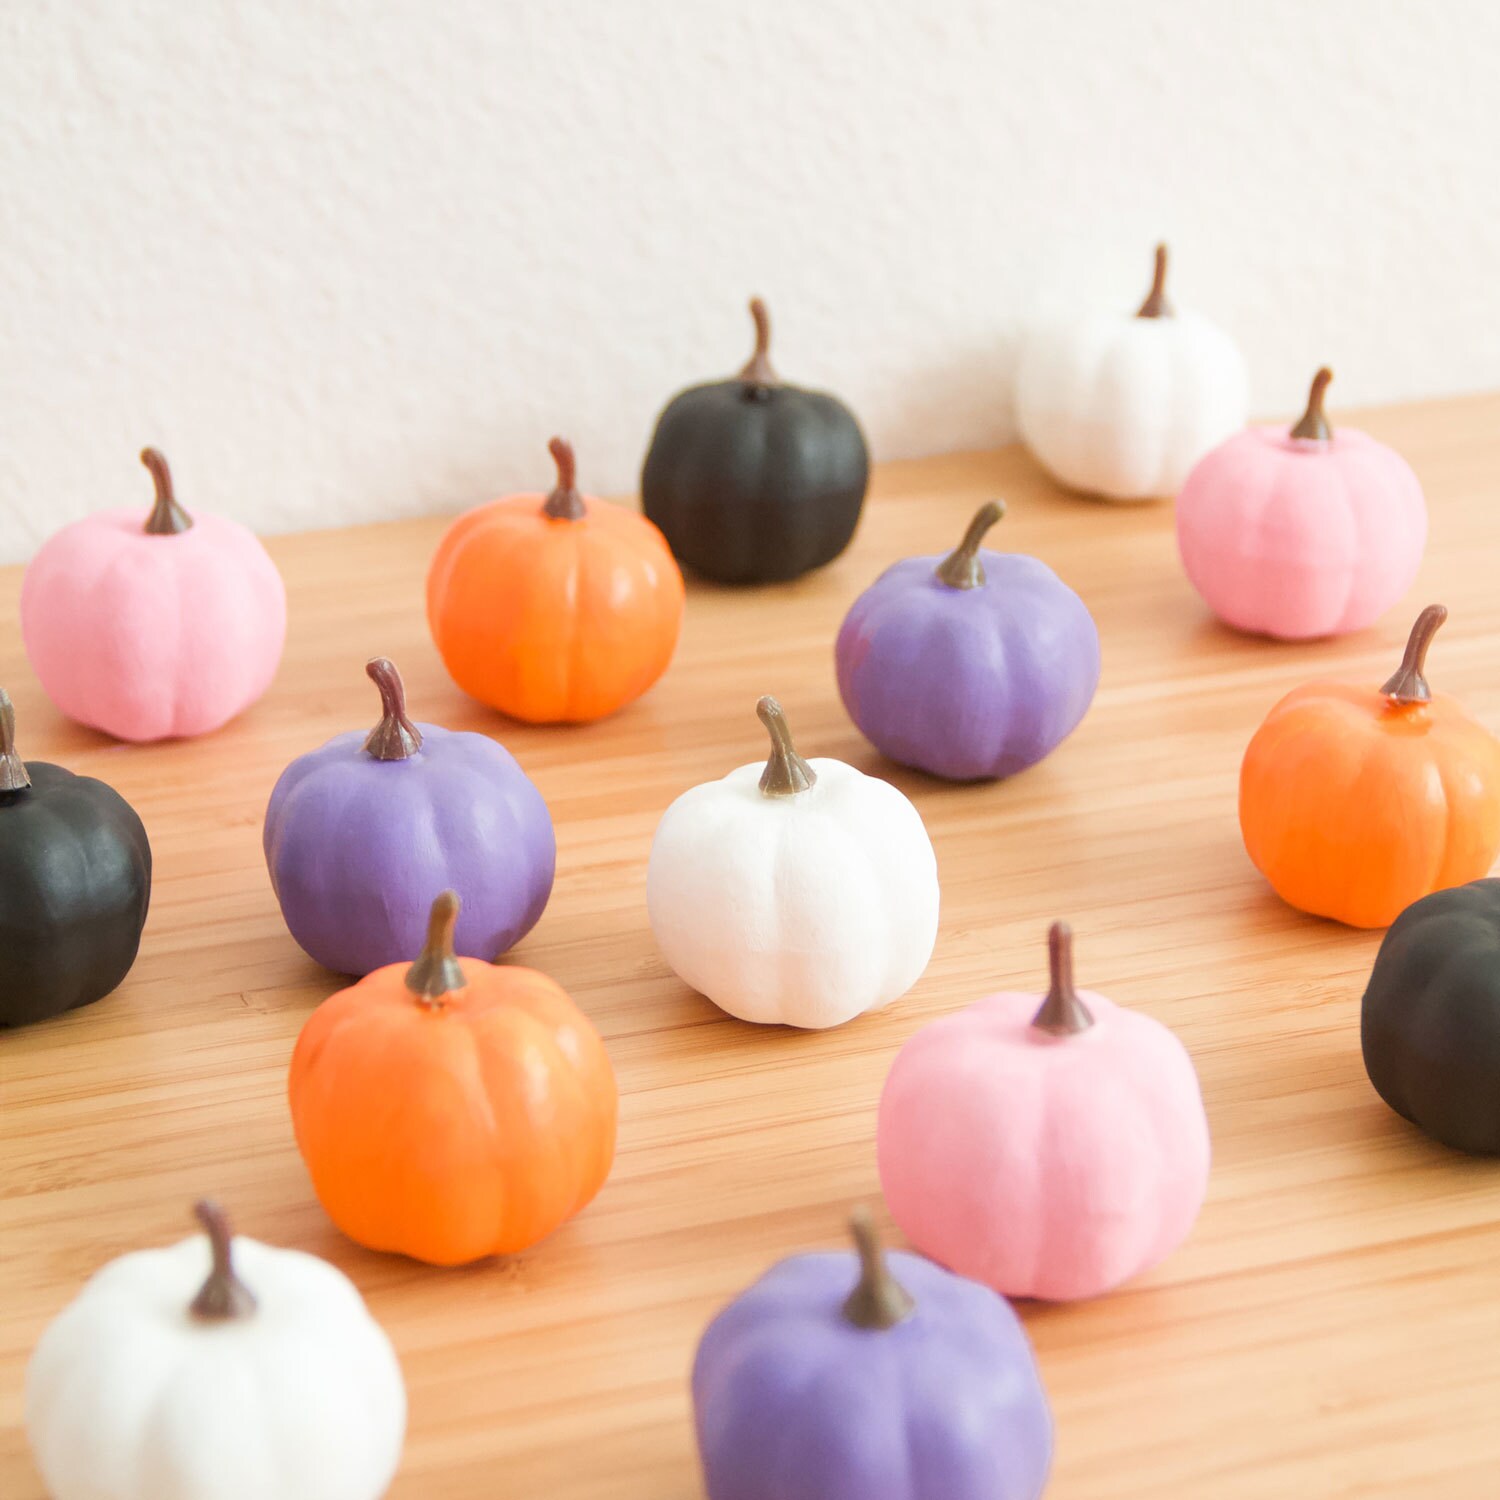
- Mini plastic pumpkins
- Black, white, purple, orange, and pink acrylic paint
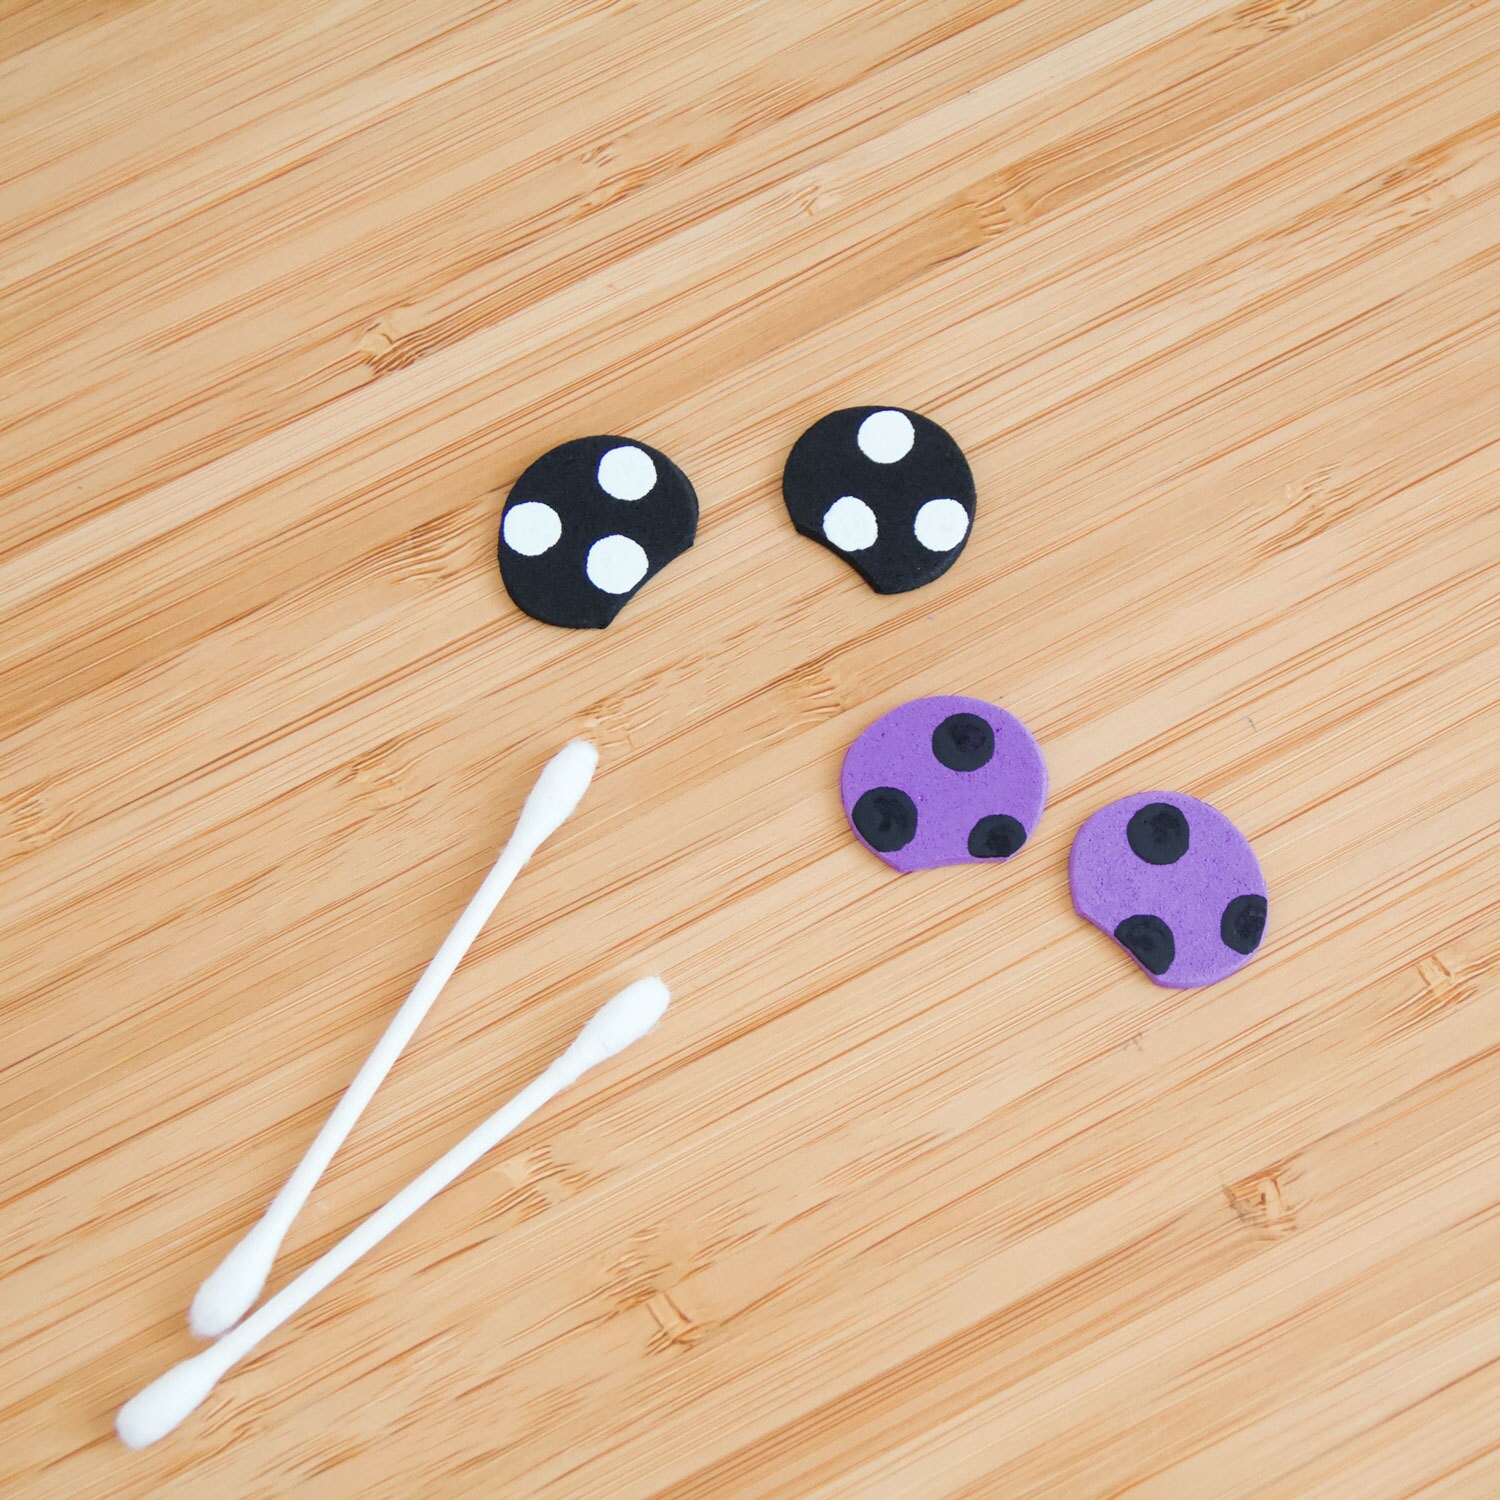
- Cotton swabs
- Black, white, purple, orange, and pink craft foam
- Hot glue
- Twine
- Scissors
- Mickey template
How To Make It
- Start by painting your pumpkins! You can make as many as you want, depending on how long you want your garland. I made three to four of each color. Apply a second coat of paint if you need to.
- Wipe the pumpkins dry. Print out the Mickey template, and cut out the Mickey that looks closest to the size of your pumpkins. Use the template to trace just the ears over the craft foam that matches the colors of your pumpkins. You'll need a set of ears for each pumpkin.
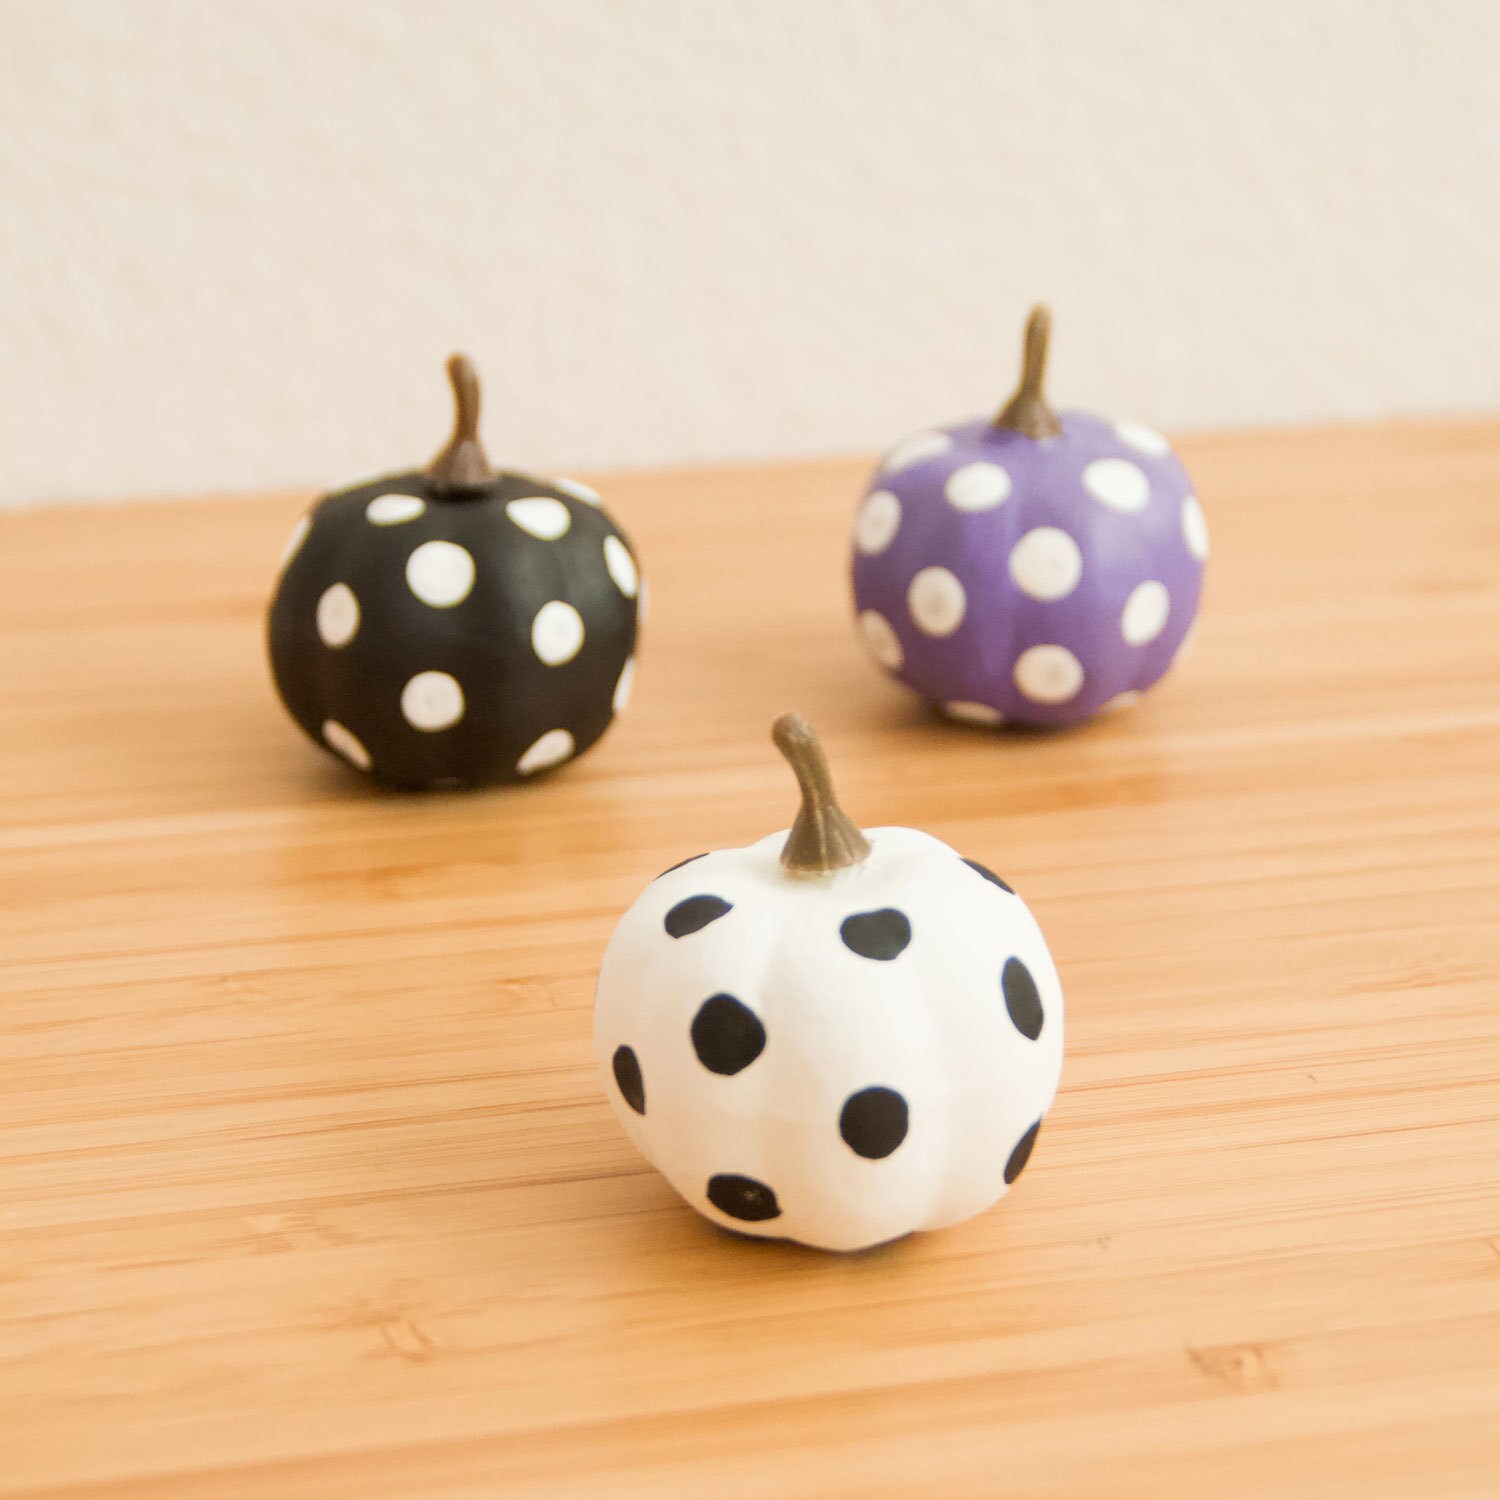
- Once the pumpkins are completely dry, use a cotton swab to dab little polka dots all over the pumpkins. Alternate between white and black polka dots. Add polka dots to the foam ears as well.
- Glue the ears onto the corresponding color of pumpkin.
- Glue each Mickey pumpkin onto a string of twine by adding a small dot of hot glue behind the stem of the pumpkin, and pushing the twine down into the glue.
- Make sure to leave about a foot of twine on each end so you have enough length to hang your garland wherever you like!
Note: All cutting and hot gluing should be done by an adult.