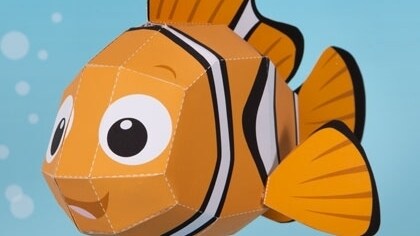
Build this curious little clownfish with your family and take him on some fun adventures!
Craft Pixar
Nemo 3D Papercraft
August 15, 2016
August 15, 2016
Time: 15 minutes
What You'll Need
- Regular paper or cardstock
- Scissors
- Glue or double-sided tape
How To Make It
- Print the template on regular paper or cardstock and cut out the pieces. Make all folds along dashed lines.
- Using glue or double-sided tape, secure all A tabs on the left side of the body to their corresponding pieces, then secure all B tabs to their corresponding pieces.
- Secure all C tabs on the right side of the body to their corresponding pieces.
- Attach the two sides of the body starting with the D tabs at Nemo's eyes and mouth. Continue securing the two sides with the E, F, and G tabs.
- Secure the H tabs to their corresponding pieces and close the shape of the body using the I tabs at the rear.
- Fold the tail in half along the dashed line and butterfly the tabs outward. Secure the two halves so the design is two-sided, then use the tabs to attach the tail to the rear of the body.
- Fold the dorsal fin in half along the dashed line and butterfly the tabs outward. Secure the two halves so the design is two-sided, then use the tabs to attach the dorsal fin to the top of the body. The stripe on the dorsal fin should line up with the stripe in the center of the body.
- Fold the rear fin in half along the dashed line and butterfly the tabs outward. Secure the two halves so the design is two-sided, then use the tabs to attach the rear fin to the bottom of Nemo's body, just below his tail.
- Fold the right and left pectoral fins in half and secure so the designs are two-sided (the tabs should also be stuck together to form one tab on each fin). Fold the tab on each fin backward and use it to attach the left and right pectoral fins to the body where indicated.
- Fold the ventral fin in half and secure so the design is two-sided (the corresponding tabs should also be stuck together to form two separate tabs). Fold the piece in half along the dashed line, then butterfly the two tabs and use them to attach the ventral fin to the bottom of Nemo's body, just behind his first stripe.
Note: Cutting should be done by an adult.