• Log In
  • My Account
    • Account Settings
    • Log Out
  • Disney.com
  • Disney+
    • Home
    • On Disney+
    • The Disney Bundle
  • Parks & Travel
    • Home
    • Walt Disney World
    • Walt Disney World
    • Disneyland
    • Disney Cruise Line
    • Aulani
    • All Parks & Travel
  • Movies
    • Home
    • All Movies
    • Movies Anywhere
    • 20th Century Studios
  • Shop
    • Sale
    • Clothes
    • Accessories
    • Toys
    • Shop All
  • Disney News
  • D23
  • Live Shows
    • Home
    • Disney on Broadway
    • Disney on Ice
    • Disney Live!
  • Music
  • Disney Disney.com
  • Disney+
    • On Disney+
    • The Disney Bundle
  • Parks & Travel
    • Walt Disney World Resort
    • Disneyland Resort
    • Disney Cruise Line
    • Aulani - A Disney Resort and Spa
    • Adventures by Disney
    • Disney Vacation Club
  • Movies
    • All Movies
    • Movies Anywhere
    • 20th Century Studios
  • Shop
    • Sale
    • Clothes
    • Accessories
    • Toys
    • Shop All
  • More
    • Disney News
    • D23: The Official Disney Fan Club
    • Live Shows
    • Music
  • Log In
  • My Account
    • Account Settings
    • Log Out
Disney
Cancel

STREAM WINNIE THE POOH NOW ON DISNEY+

Craft Disney

Craft the Cutest Winnie the Pooh Pom-Poms

January 18, 2019
January 18, 2019
Elise Apffel
Disney Family Contributor

Three Winnie the Pooh faces made from pom-poms sit surrounded by various craft materials.
©DISNEY. PHOTO BY ELISE APFFEL FOR DISNEY FAMILY

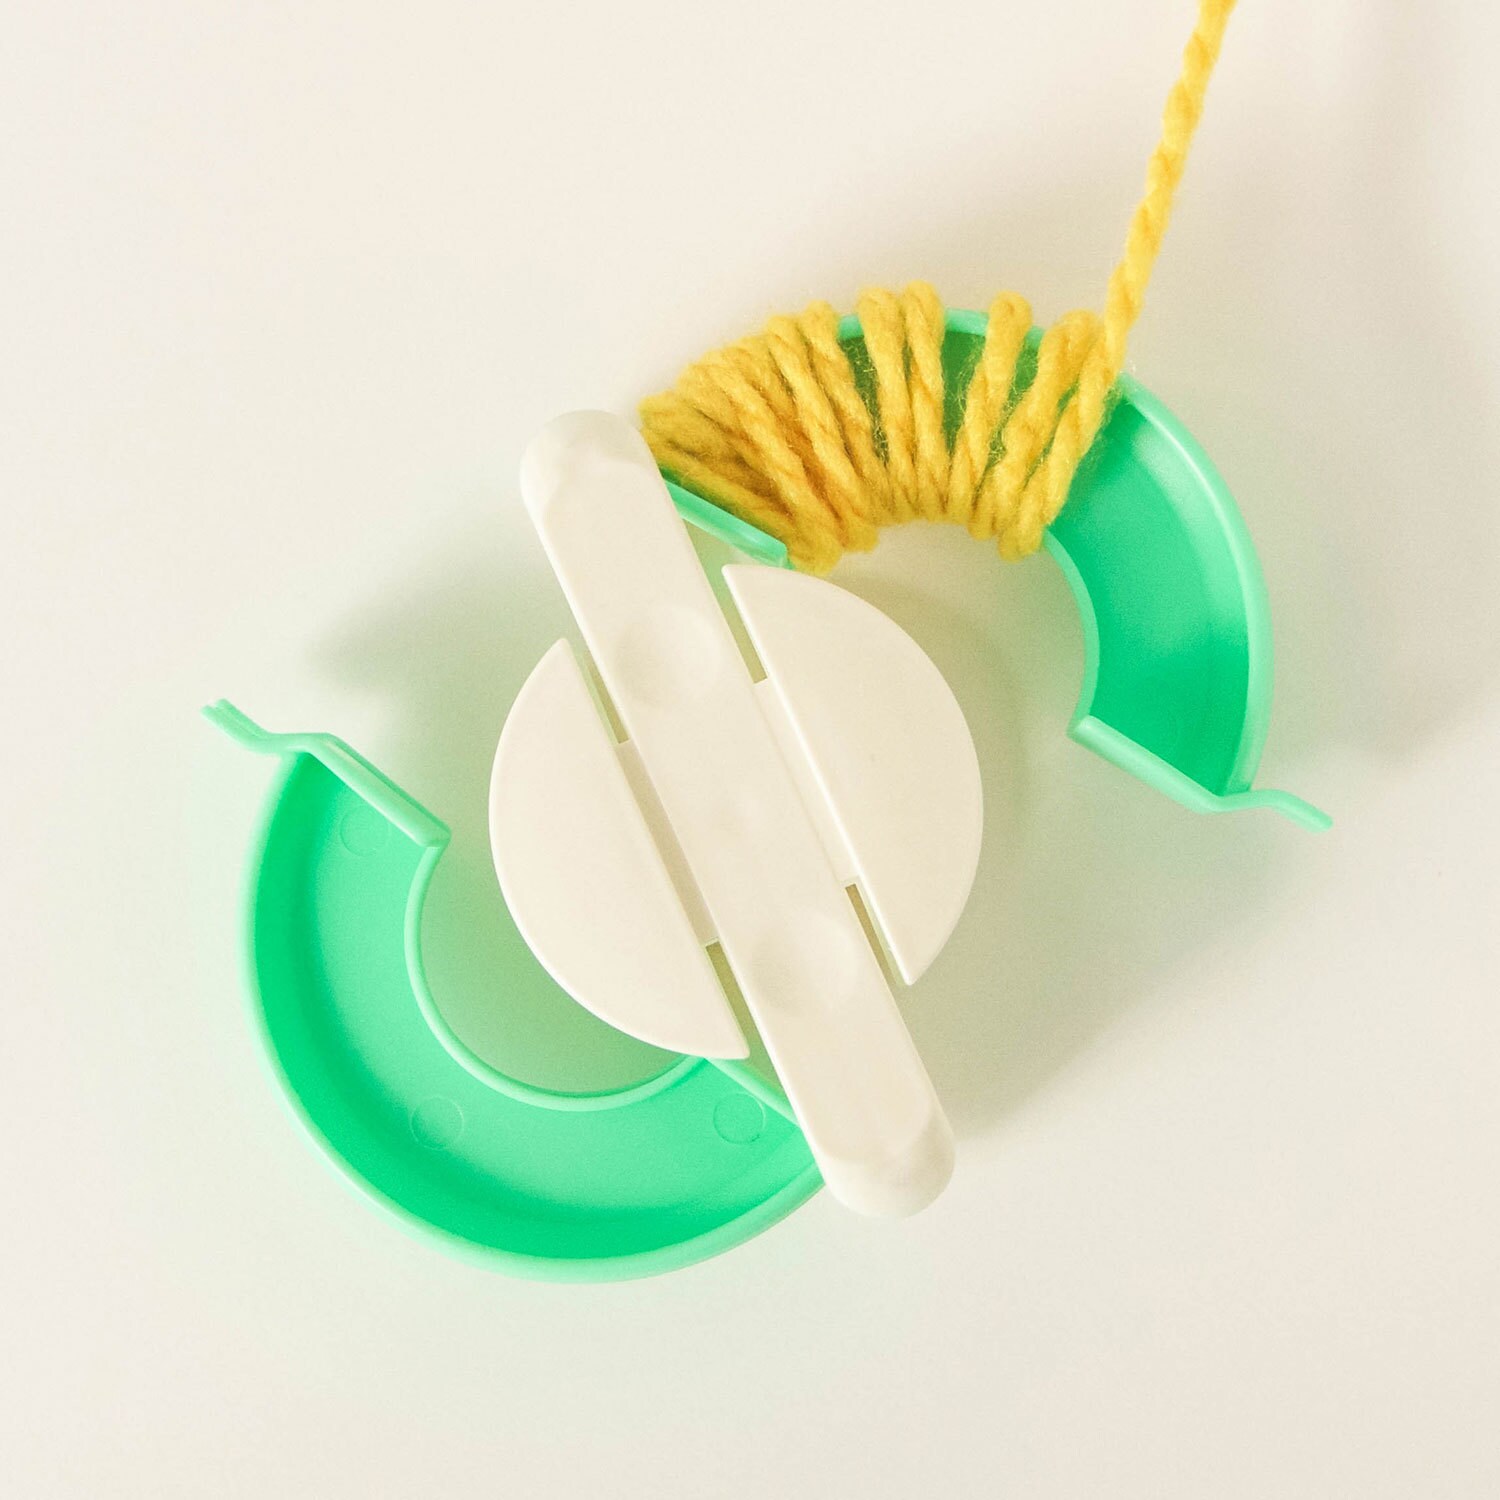
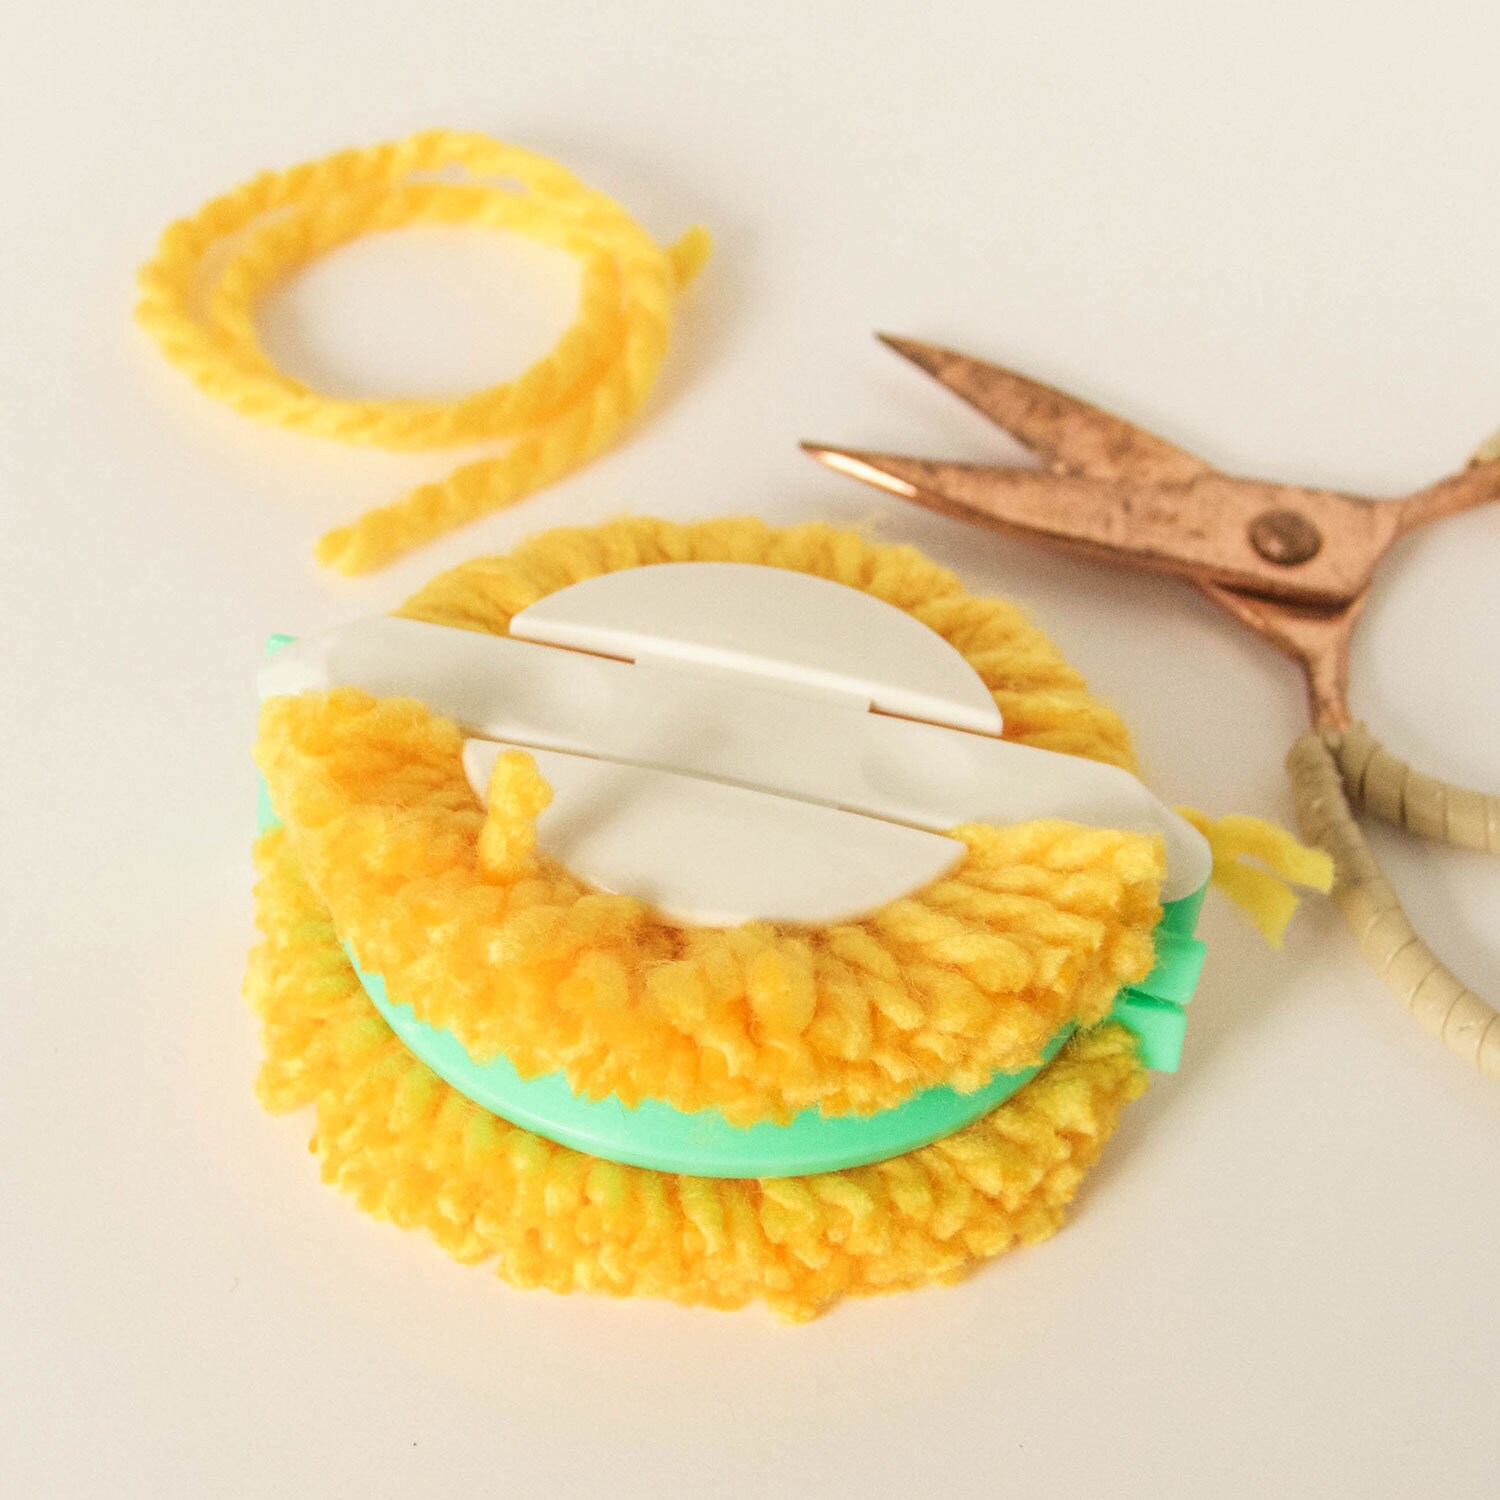
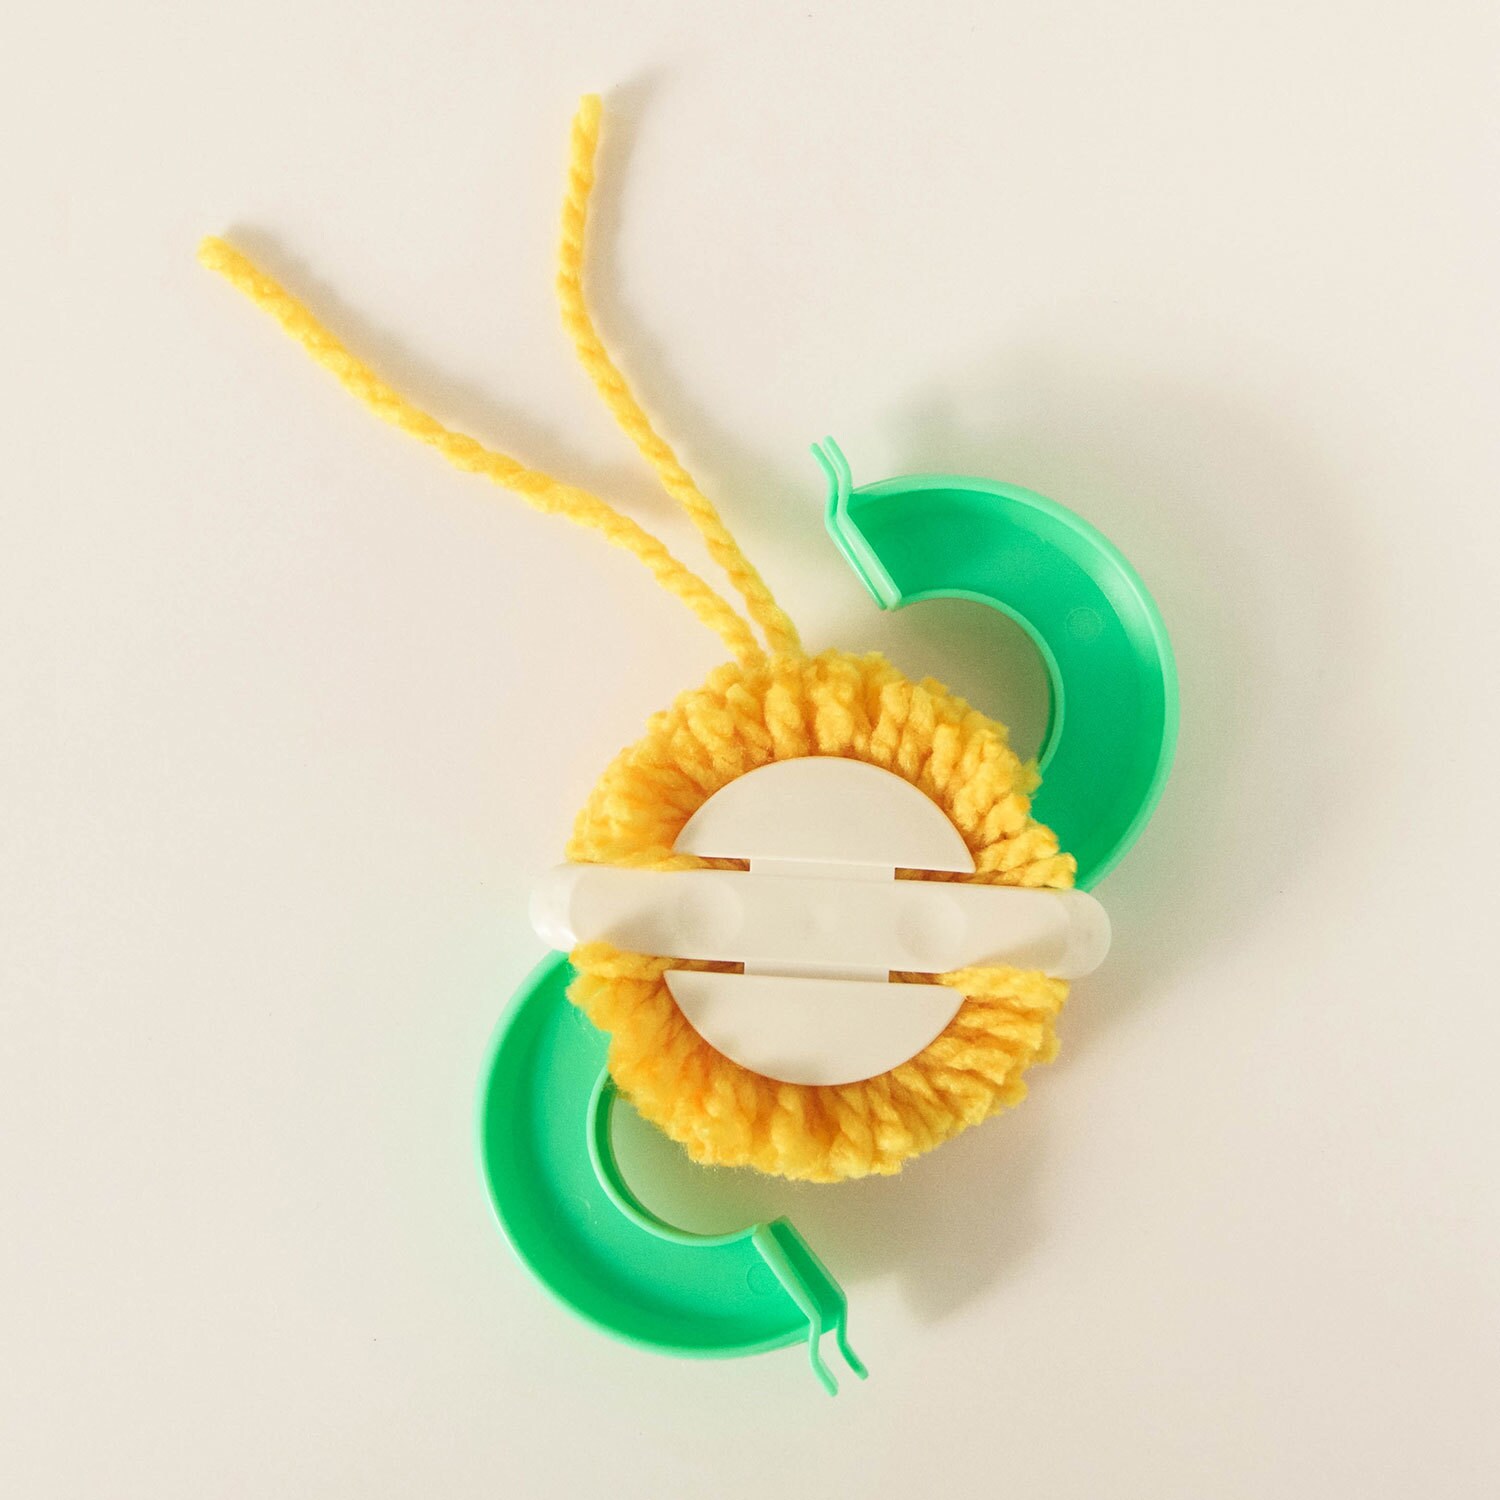
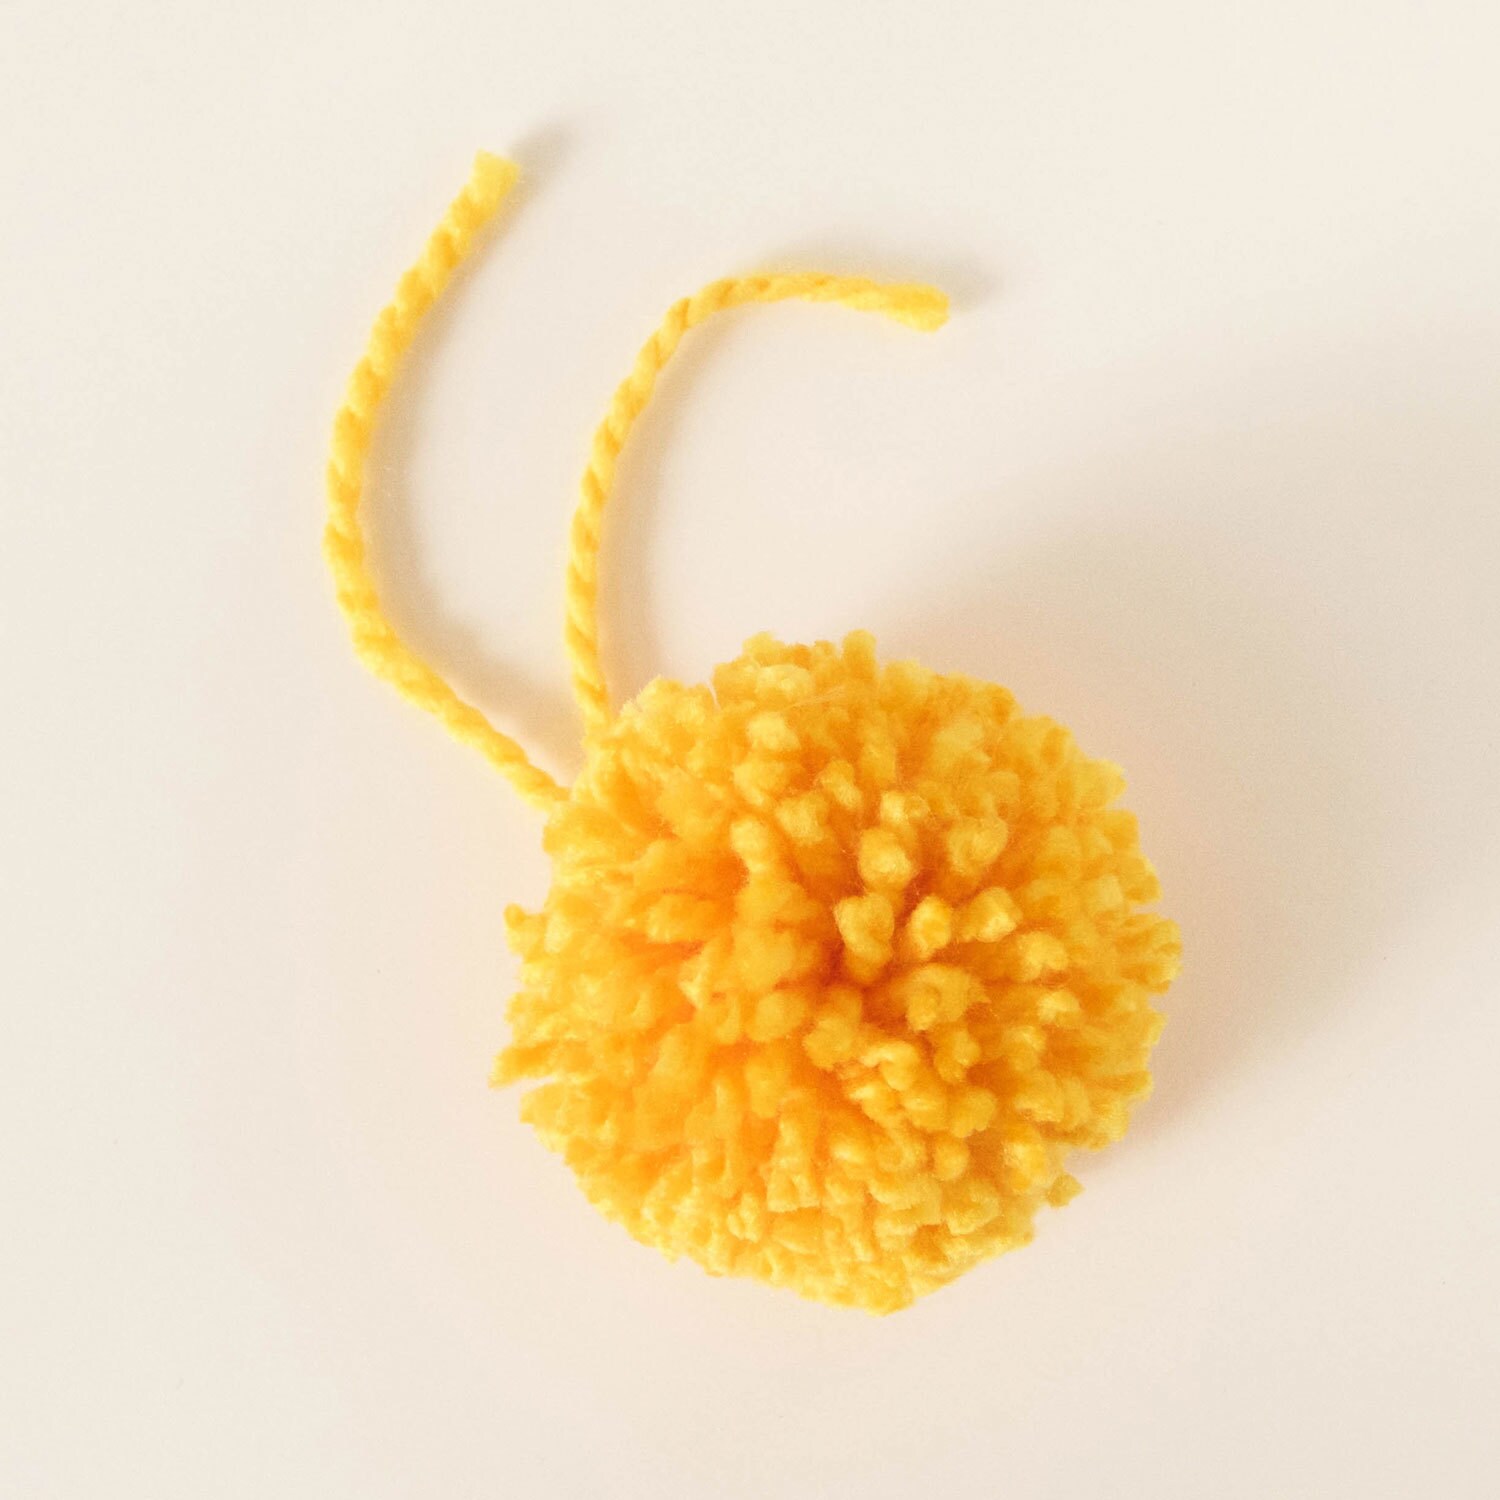
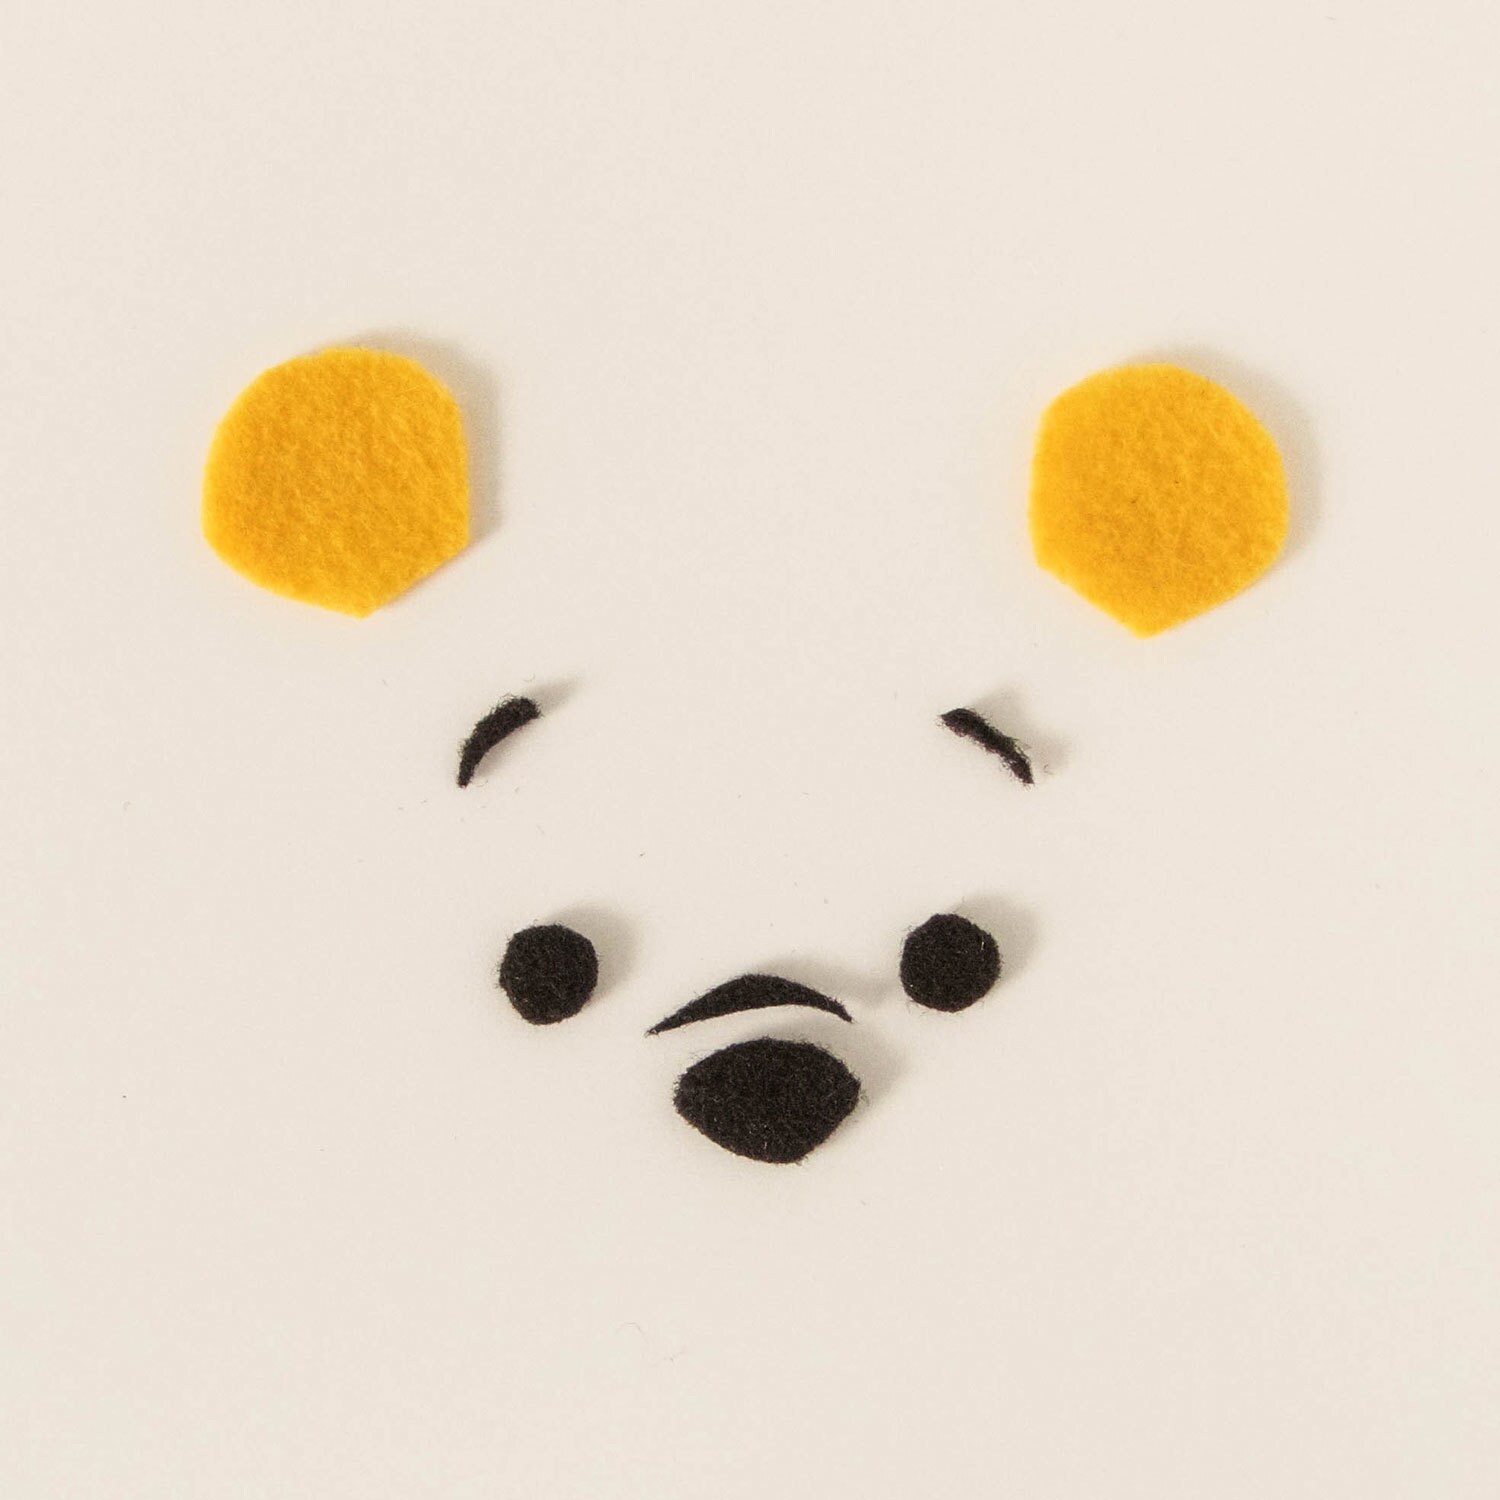
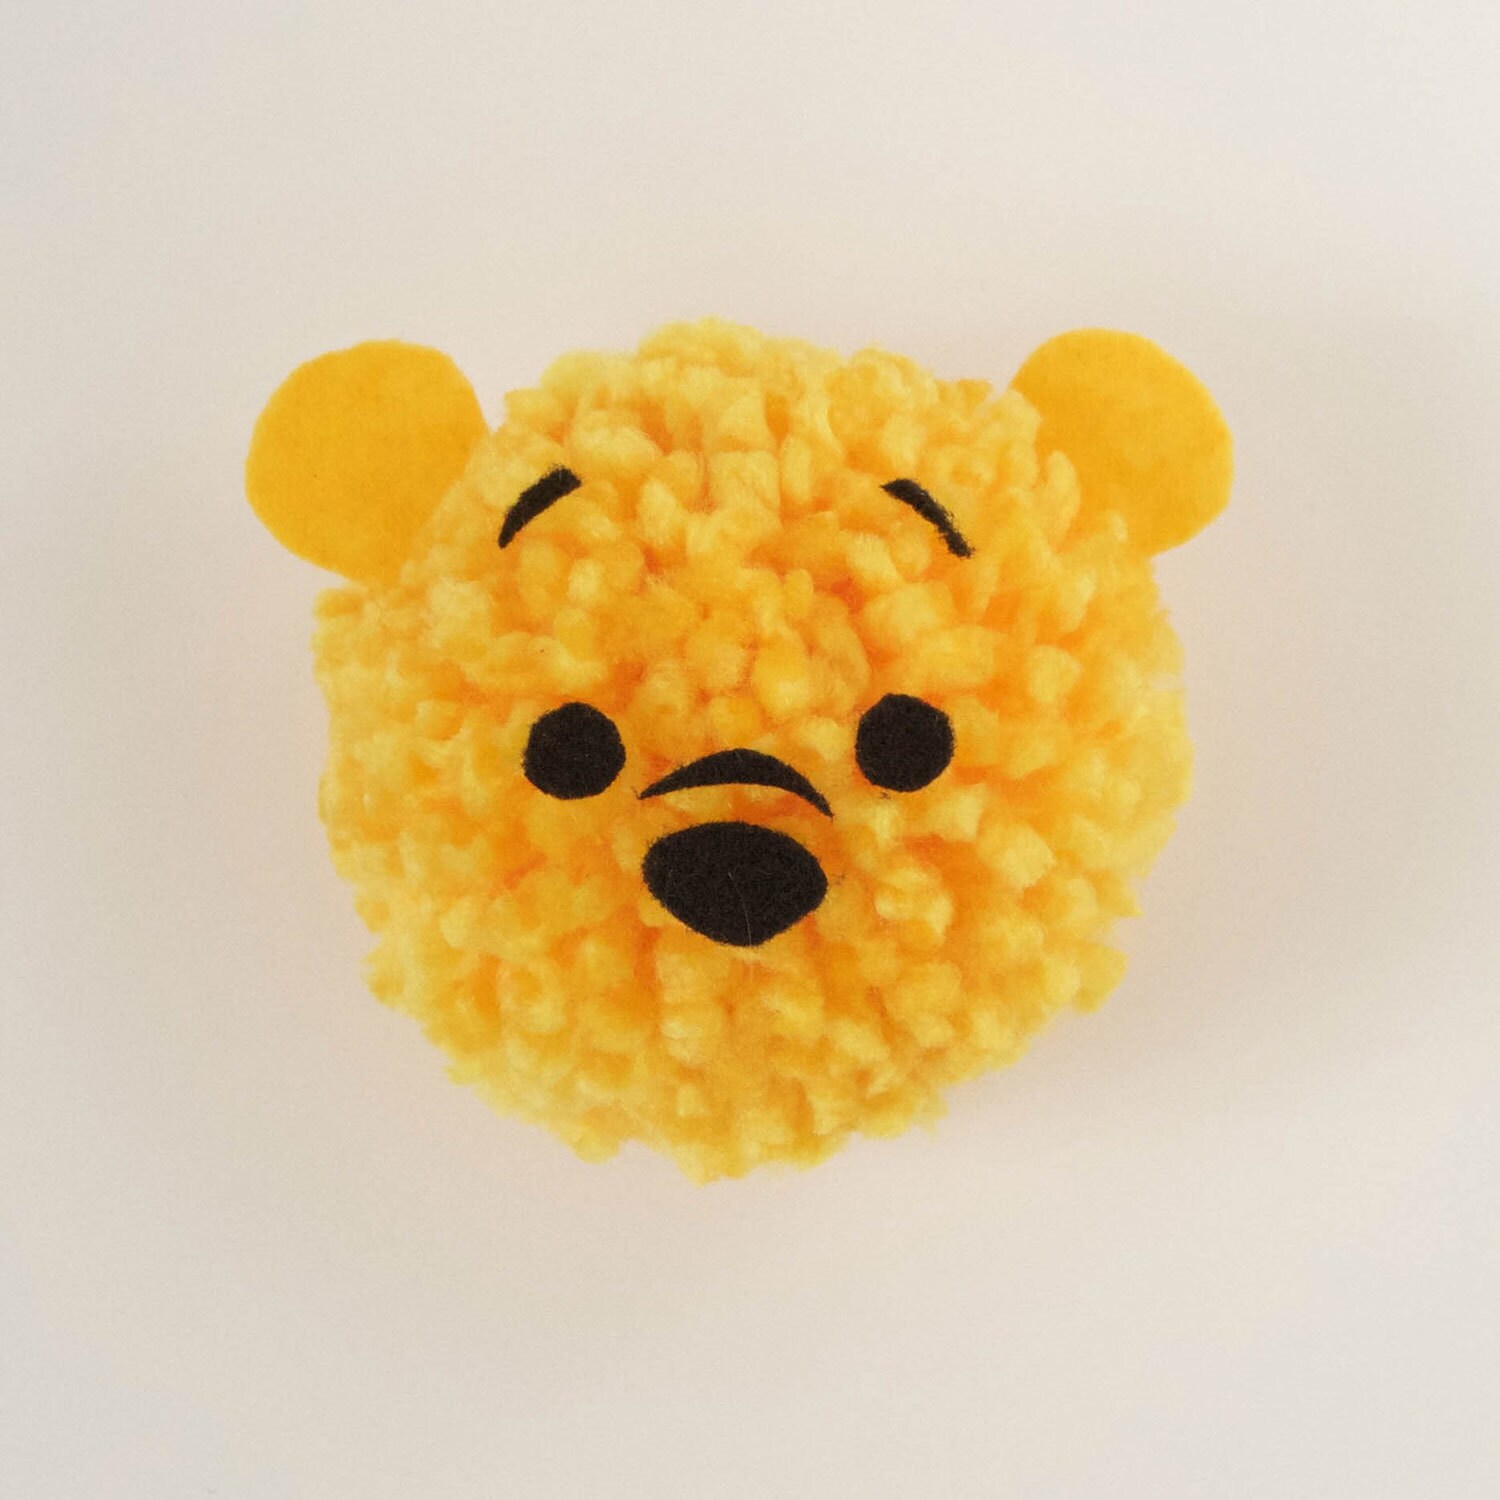
We'll admit it. We love pom-poms. They're fun to make, and sometimes we even turn them into décor. In celebration of our favorite silly ol' bear, Winnie the Pooh, we bring you a sweet and simple craft that all your friends will love, too. Keep reading to learn how to make your own Winnie the Pooh pom-poms. And be sure to share your results by tagging us @DisneyFamily on Instagram!

What You'll Need

  • 3 1/5” pom-pom maker (or any size larger than 3”)
  • Yellow yarn
  • Yellow felt
  • Black felt
  • Scissors
  • Hot glue

How To Make It

  1. Using a pom-pom maker, start by wrapping yarn around one of the arms. Continue wrapping until it’s nice and full.
  2. Without cutting off the yarn, close the pom-pom maker arm, then continue wrapping around the second arm. Close the second arm and trim off the remaining yarn.
  3. With scissors, cut along the middle of each arm all the way around. Wrap a small piece of yarn around the middle of the maker. Pull it tightly, knot once and as tight as you can, then make a second knot to hold it. We like to leave this piece of yarn long so it can be tied onto something later. If you want the pom-pom to live on its own, you can trim it off.
  4. Open the arms and pop open the pom-pom maker by pulling on each circular side. Trim the pom-pom as needed.
  5. Repeat to make more pom-poms!
  6. To create Winnie the Pooh's face, cut out his eyes, nose, crinkle, and eyebrows from black felt. Cut out two bear ears from yellow felt. Hot glue these features onto the pom-pom.
  7. Once complete, you can use these pom-poms for many different projects! Consider tying them onto a string and making a garland, sewing one onto a beret or beanie as decorative flair, or tying one onto a keychain ring!

Notes

All cutting and hot gluing should be done by an adult.

  • About Disney
  • Disney Help
  • Careers
  • Contact Us
  • Advertise With Us
  • Disney® Premier Visa® Card
  • Terms of Use
  • Additional Content Information
  • Privacy Policy
  • Your US State Privacy Rights
  • Children's Online Privacy Policy
  • Do Not Sell Or Share My Personal Information
  • Interest-Based Ads
© 2025 Disney and its related entities