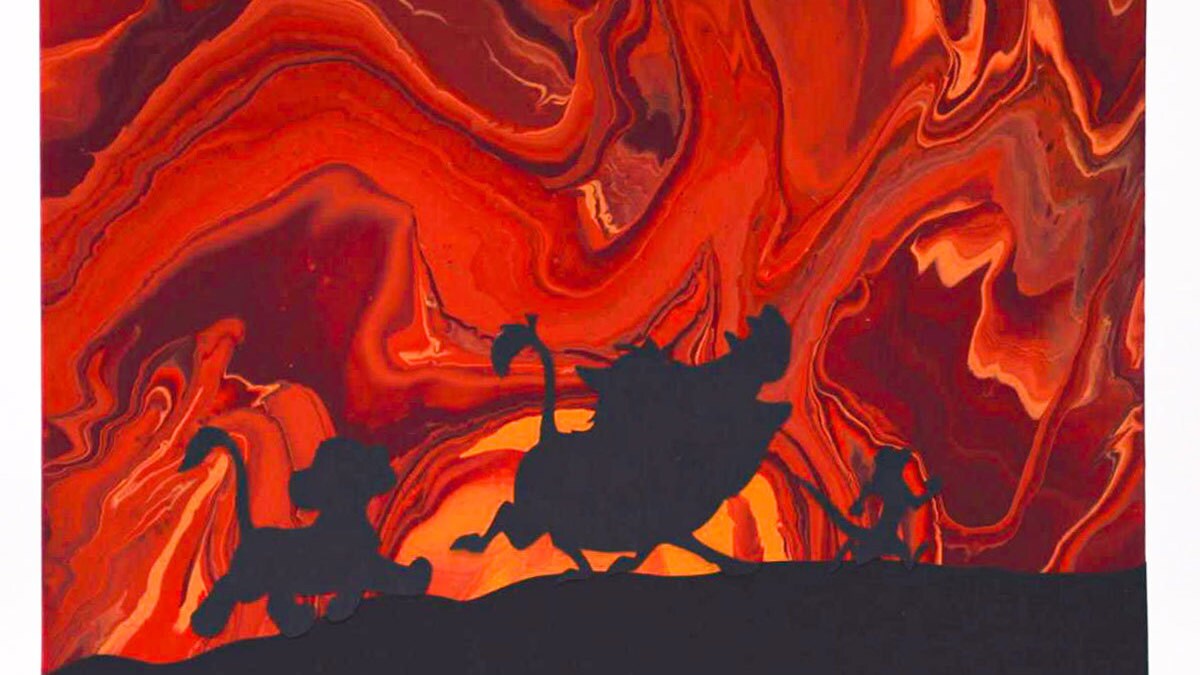
Remember who you are with this adorable Lion King-inspired paint craft!
What You'll Need:
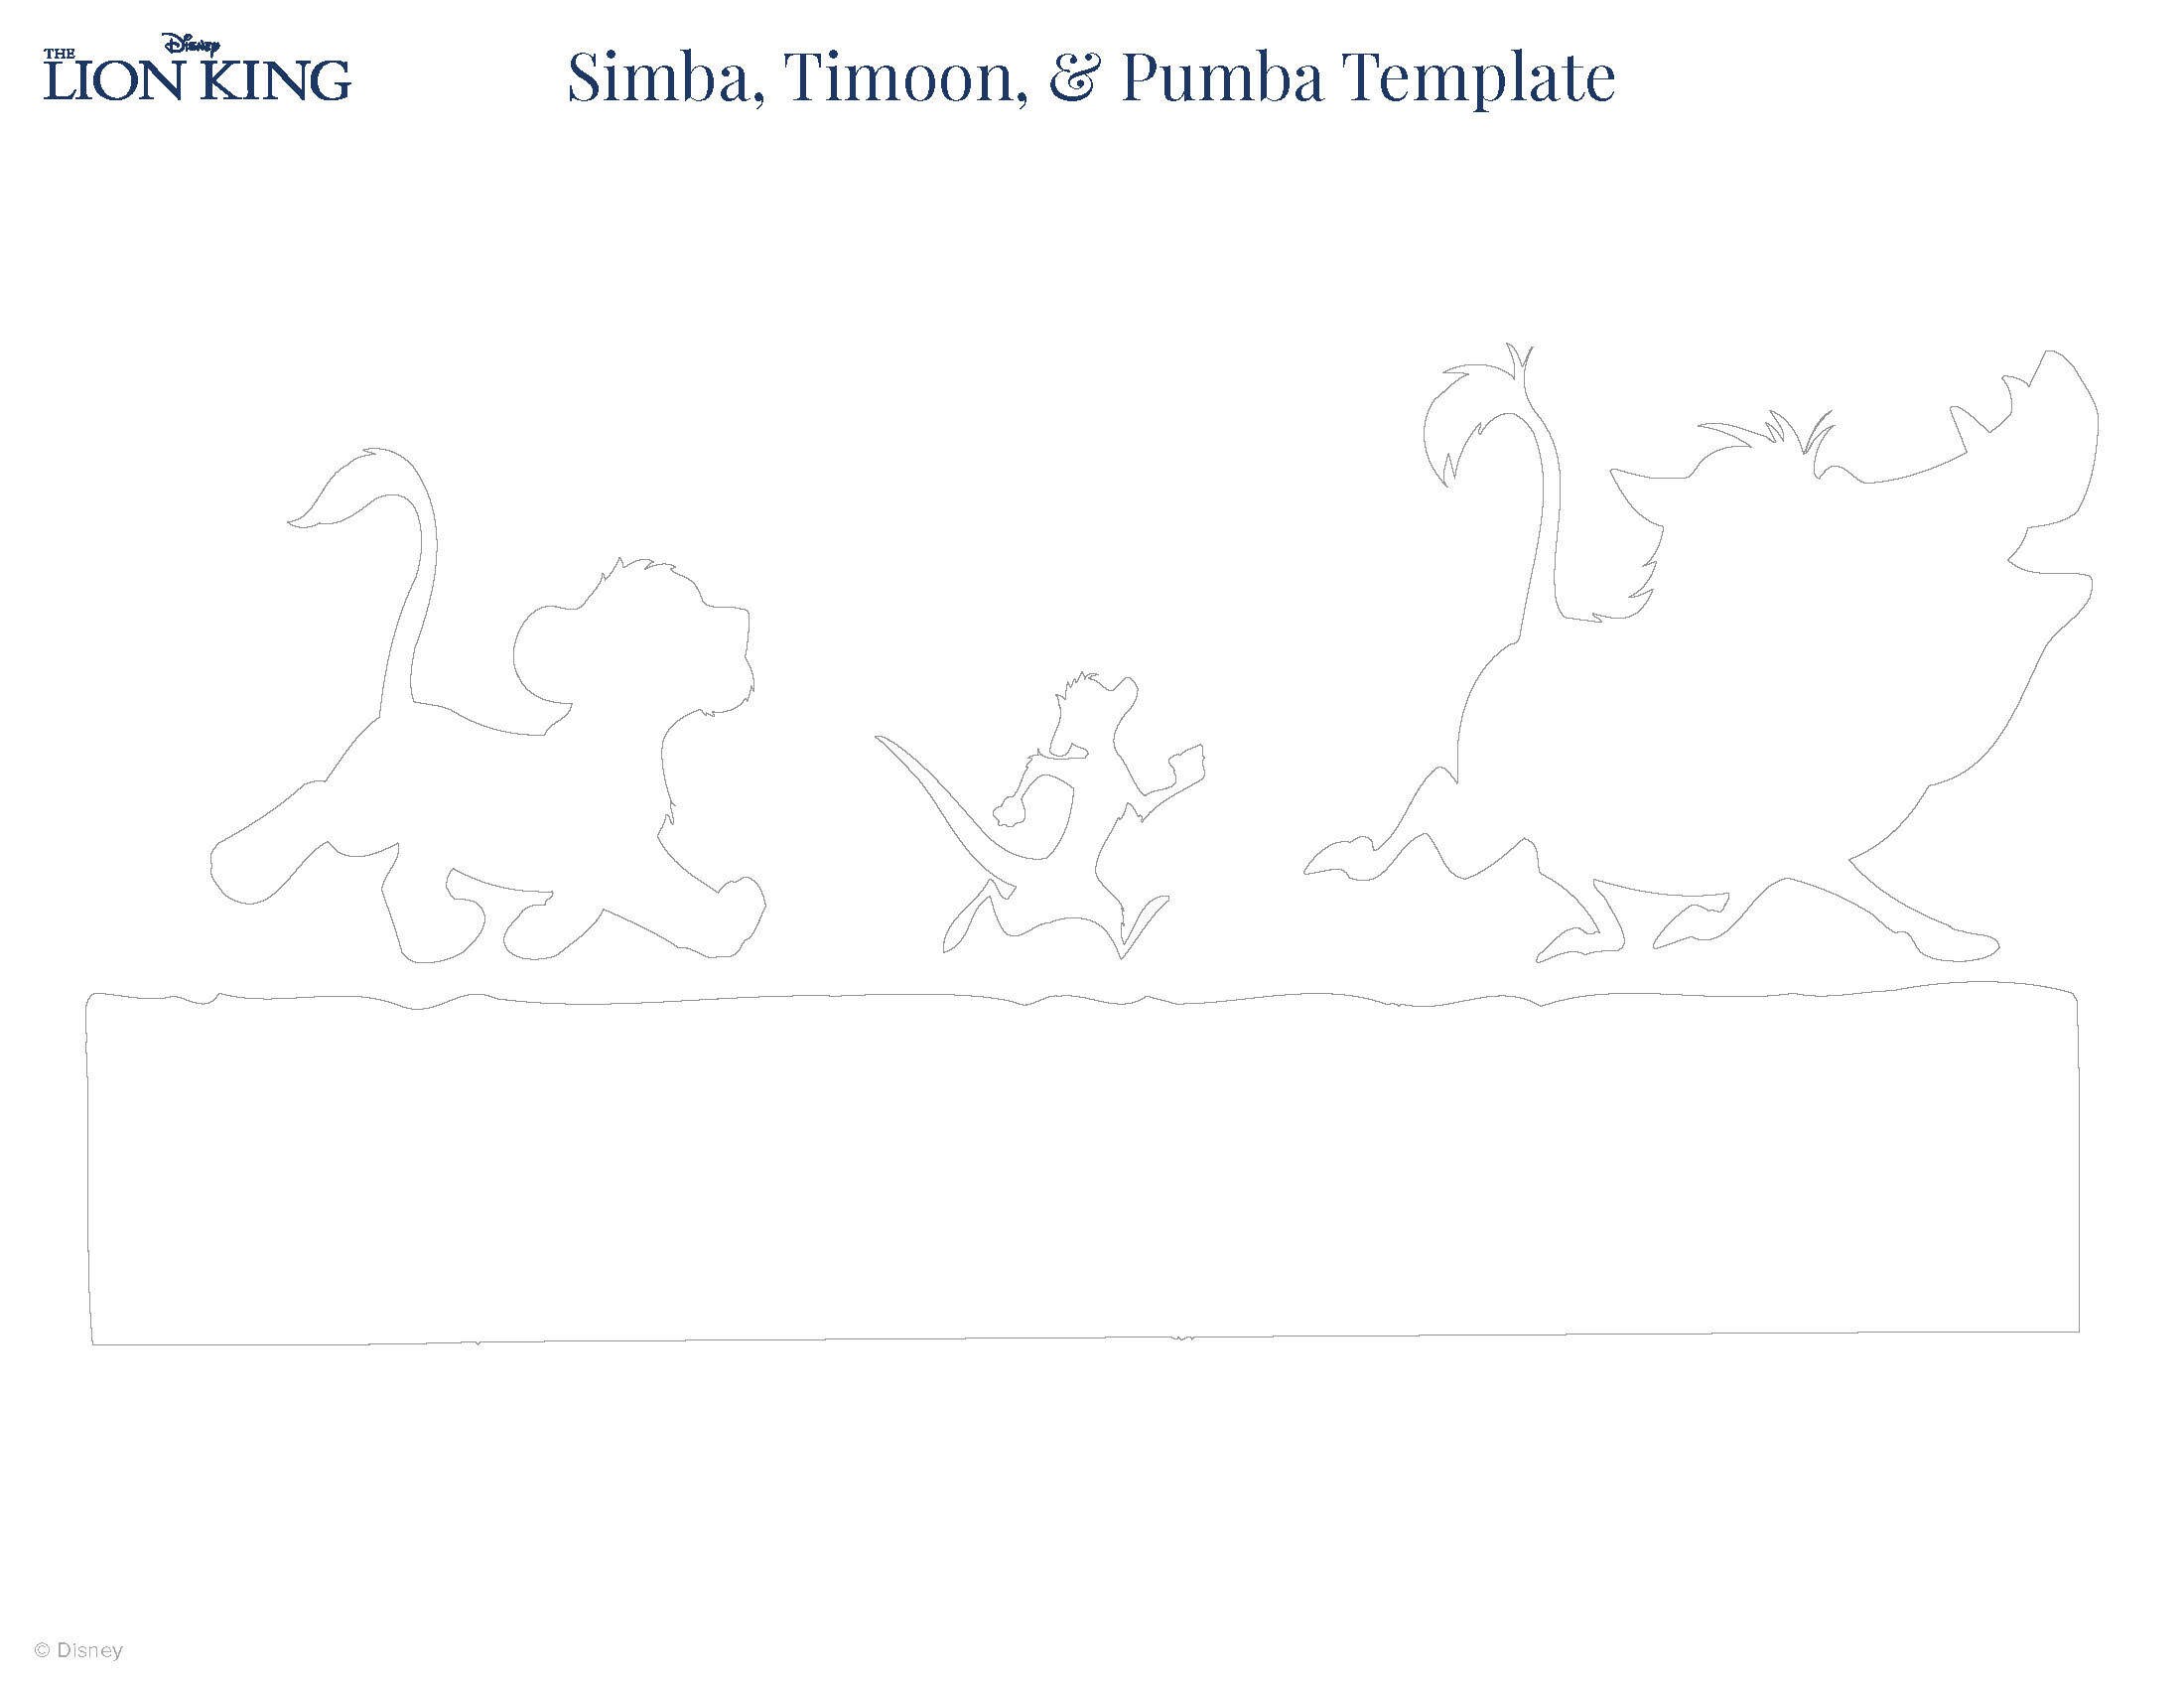
- Lion King template
- Black cardstock
- Large tray
- Canvas art board
- Scissors
- 2 plastic containers
- Tape runner
- Plastic cups
- Craft paper
- Various colors of pouring paint
- Gloves
How to Make It:
- Cover work area with craft paper.
- Cut out the Lion King characters from the template.
- Cut out a strip from the black cardstock paper for the ground. Try and add some additional details to make it look like rugged terrain.
- Put on gloves, then layer different colors of paints into the plastic cups, one at a time, until cups are about three-fourths of the way full.
- Pour the paint from the plastic cups onto the art canvas.
- Tilt the canvas to spread the paint around. Make sure that the top of the canvas is covered entirely with the paint design. Let dry completely.
- Use the tape runner to tape the back of the ground silhouette, then place it on the bottom of the canvas and trim the excess paper if needed.
- Tape the back of the character silhouettes with the tape runner, then, place them onto the canvas.