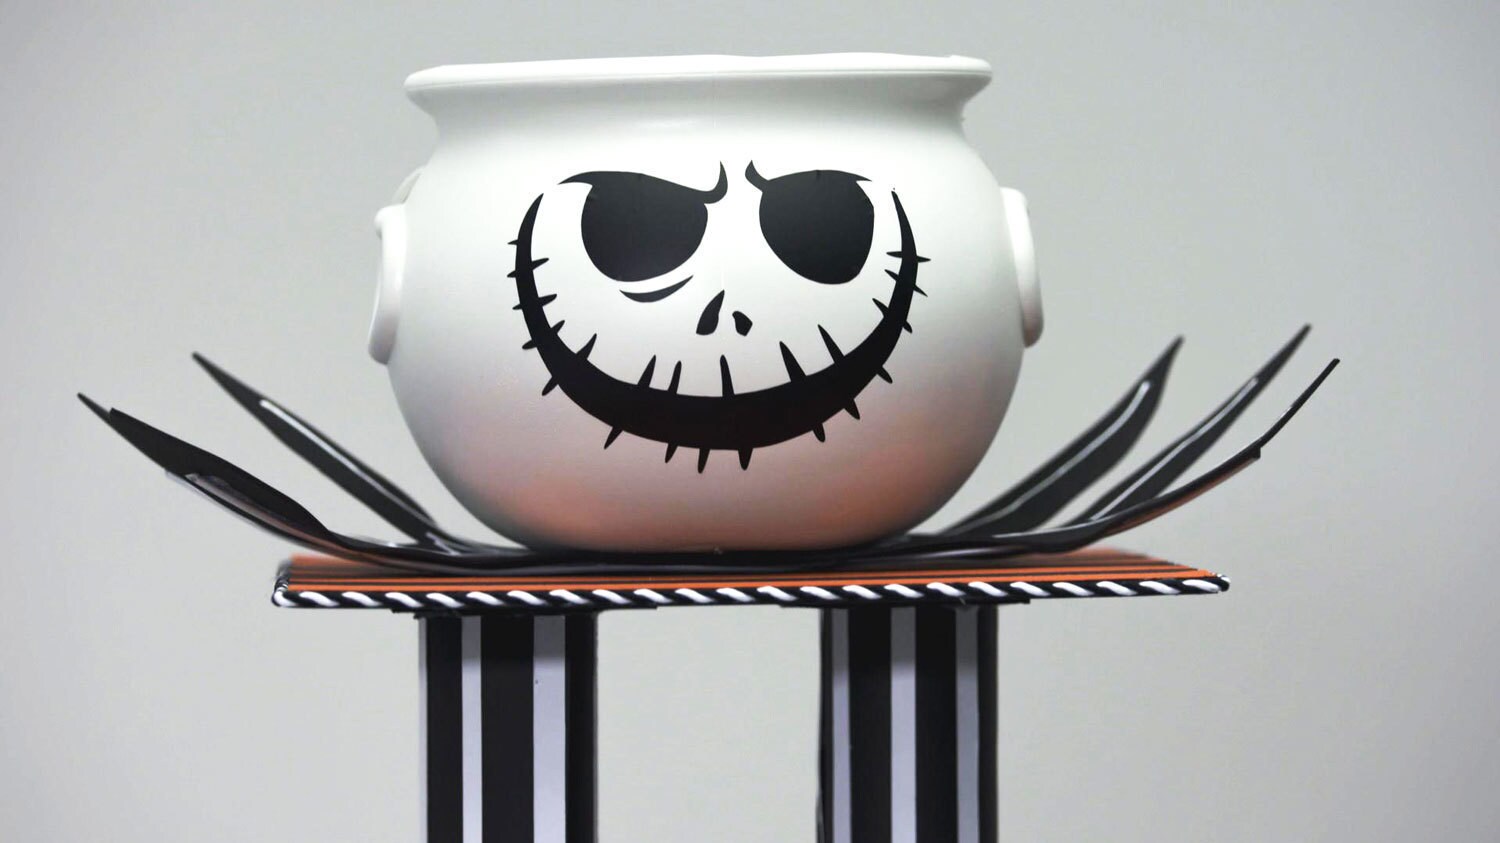
Learn how to make a sweet and spooky Tim Burton's The Nightmare Before Christmas candy bowl!
What You'll Need:
- Jack Skellington collar template
- Jack Skellington boot template
- Jack Skellington face template
- Cutting mat
- Long ruler
- 2 shipping tubes
- White-painted cauldron
- White dimensional paint
- Tape runner
- Regular scissors
- Detail scissors
- Pencil
- Craft knife
- Wire cutters
- Black and white string
- Hot glue
- Armature wire
- Cardstock paper: white, black, and orange
- Black vinyl
- Black foam board
- Black craft foam
How to Make It:
- Cut out the collar and boot templates and trace them onto black foam board. Cut them out.
- Cut out the Jack Skellington face template and trace them onto black vinyl and cut it out.
- Use a ruler to cut out 12 half-inch stripes of white cardstock paper.
- Use a tape runner and hot glue to attach black cardstock paper around the shipping tube.
- Attach the white cut-out strips of cardstock paper to the shipping tubes with a tape runner. You should have 6 strips that are evenly spaced around the tube. Then, attach square pieces of black foam board onto each side of the shipping tube.
- Stick the black vinyl Jack Skellington face onto the white cauldron.
- Paint a spider web design onto the black collar with the white dimensional paint.
- Cut out orange and white stripes from the cardstock paper. Then glue the white stripes on one foam board square and the orange stripes onto another.
- Glue the black and white string around the edge of the base squares for decoration.
- Glue some armature wire onto the bottom of the collar for bendability.
- Attach the shipping tubes onto the white and black foamboard square with hot glue. Then, attach the black boot template on top of the bottom shipping tube squares with hot glue.
- Hot glue the orange and black foam board square onto the top of the shipping tubes. Then, glue the Jack Skellington collar on top of the orange and black square.
- Glue the white cauldron onto the top of the collar.